
Design
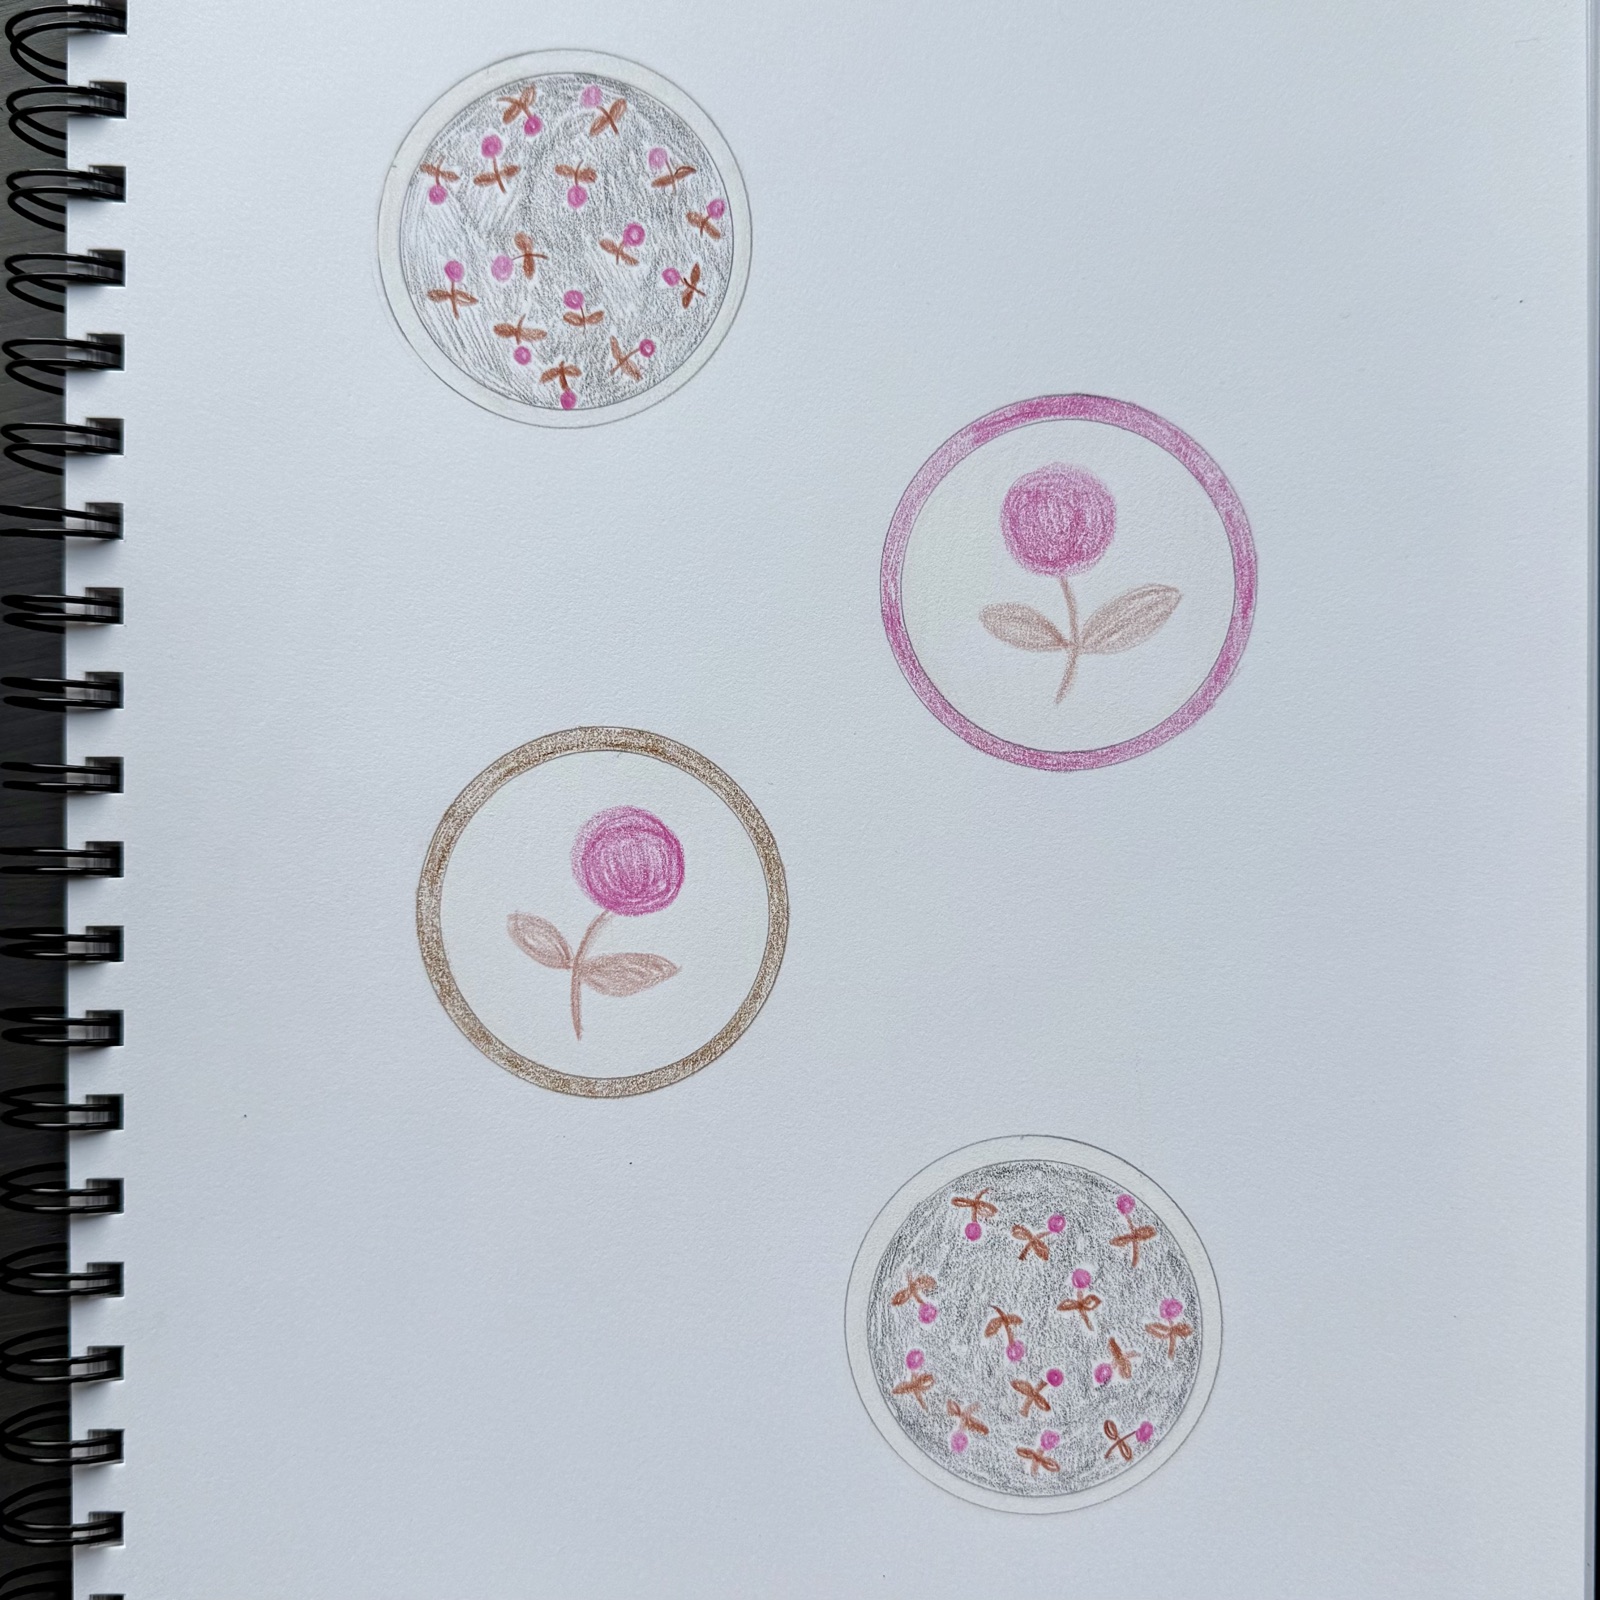
I sketched four round magnet designs using simple flowers and a repeating floral motif. I paired the drawings with a warm fall palette of pink, cream, brown, and black, keeping the shapes simple enough to translate into embroidery while giving the finished set a coordinated look.
Cut
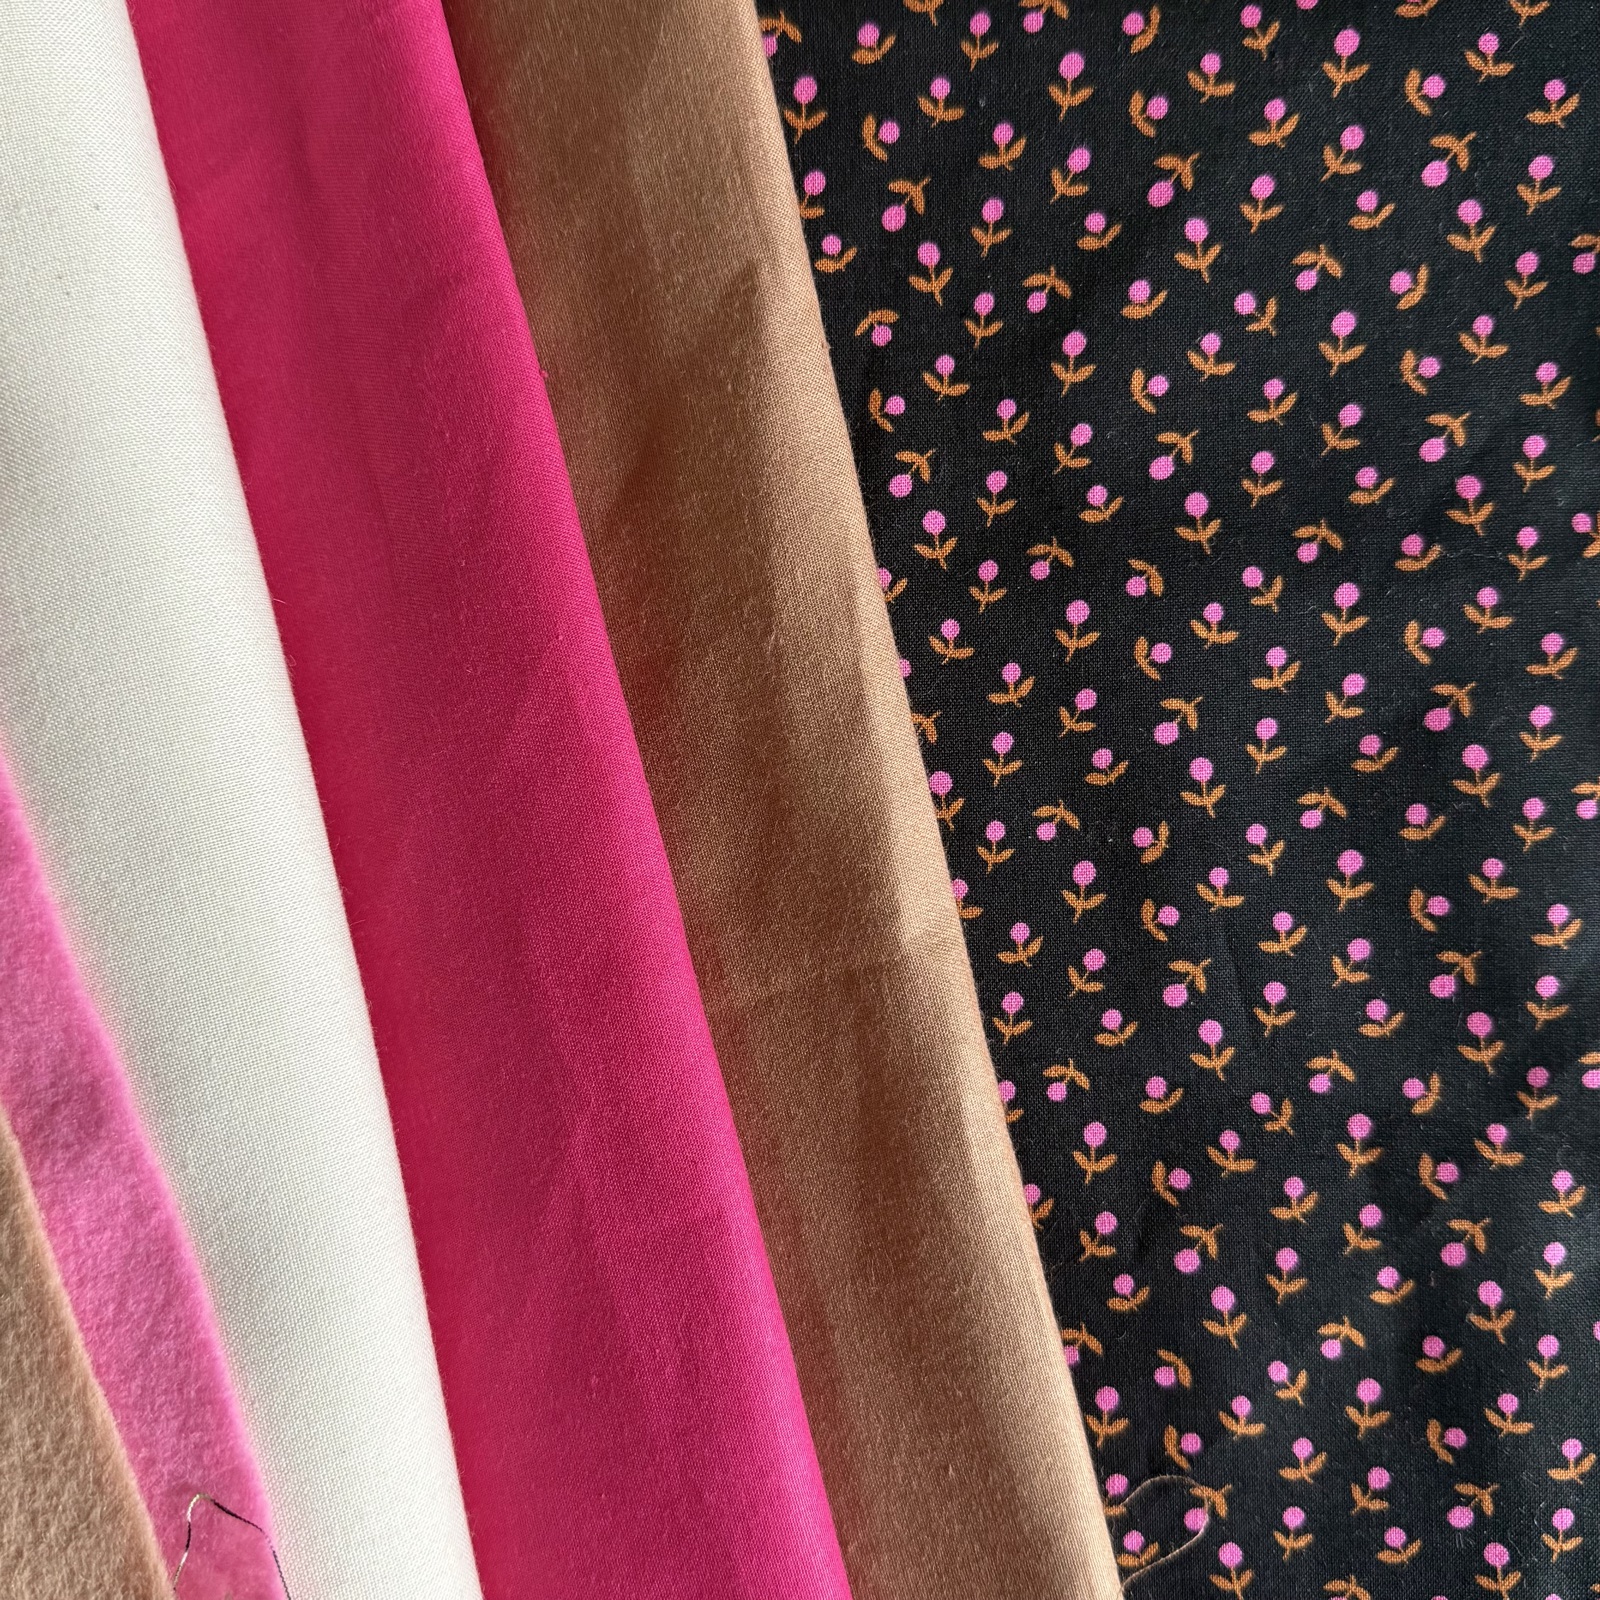
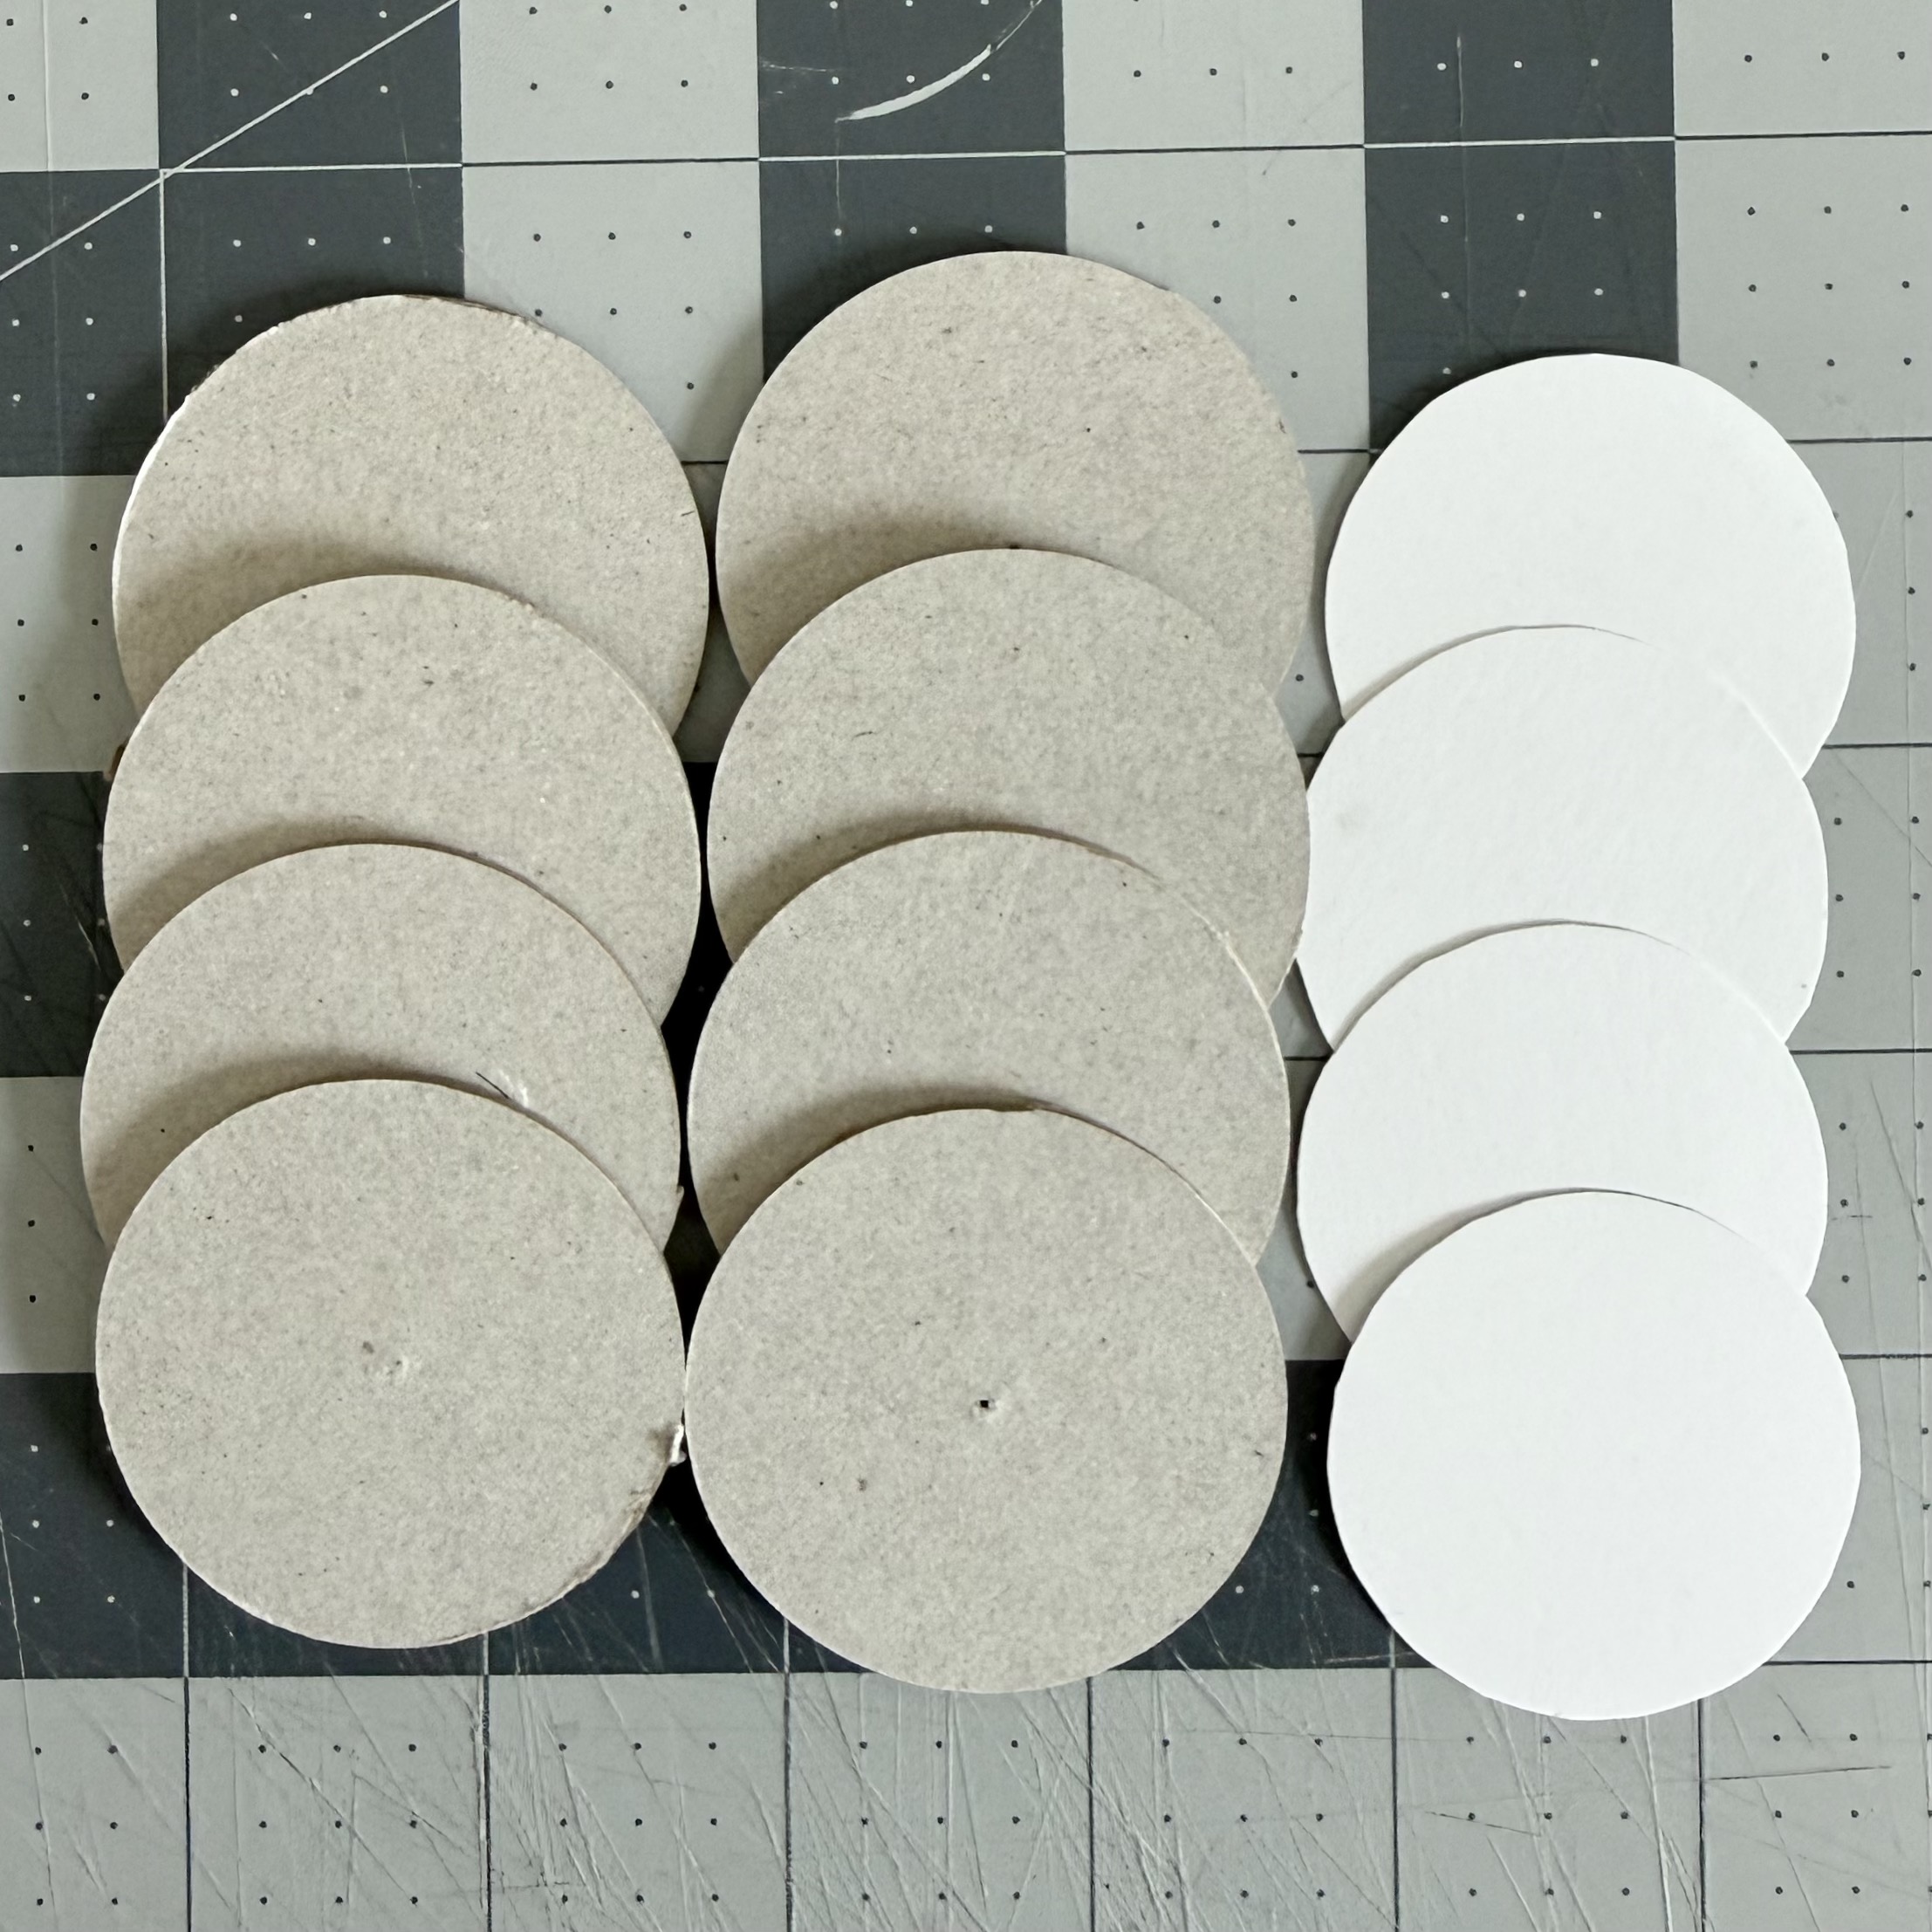
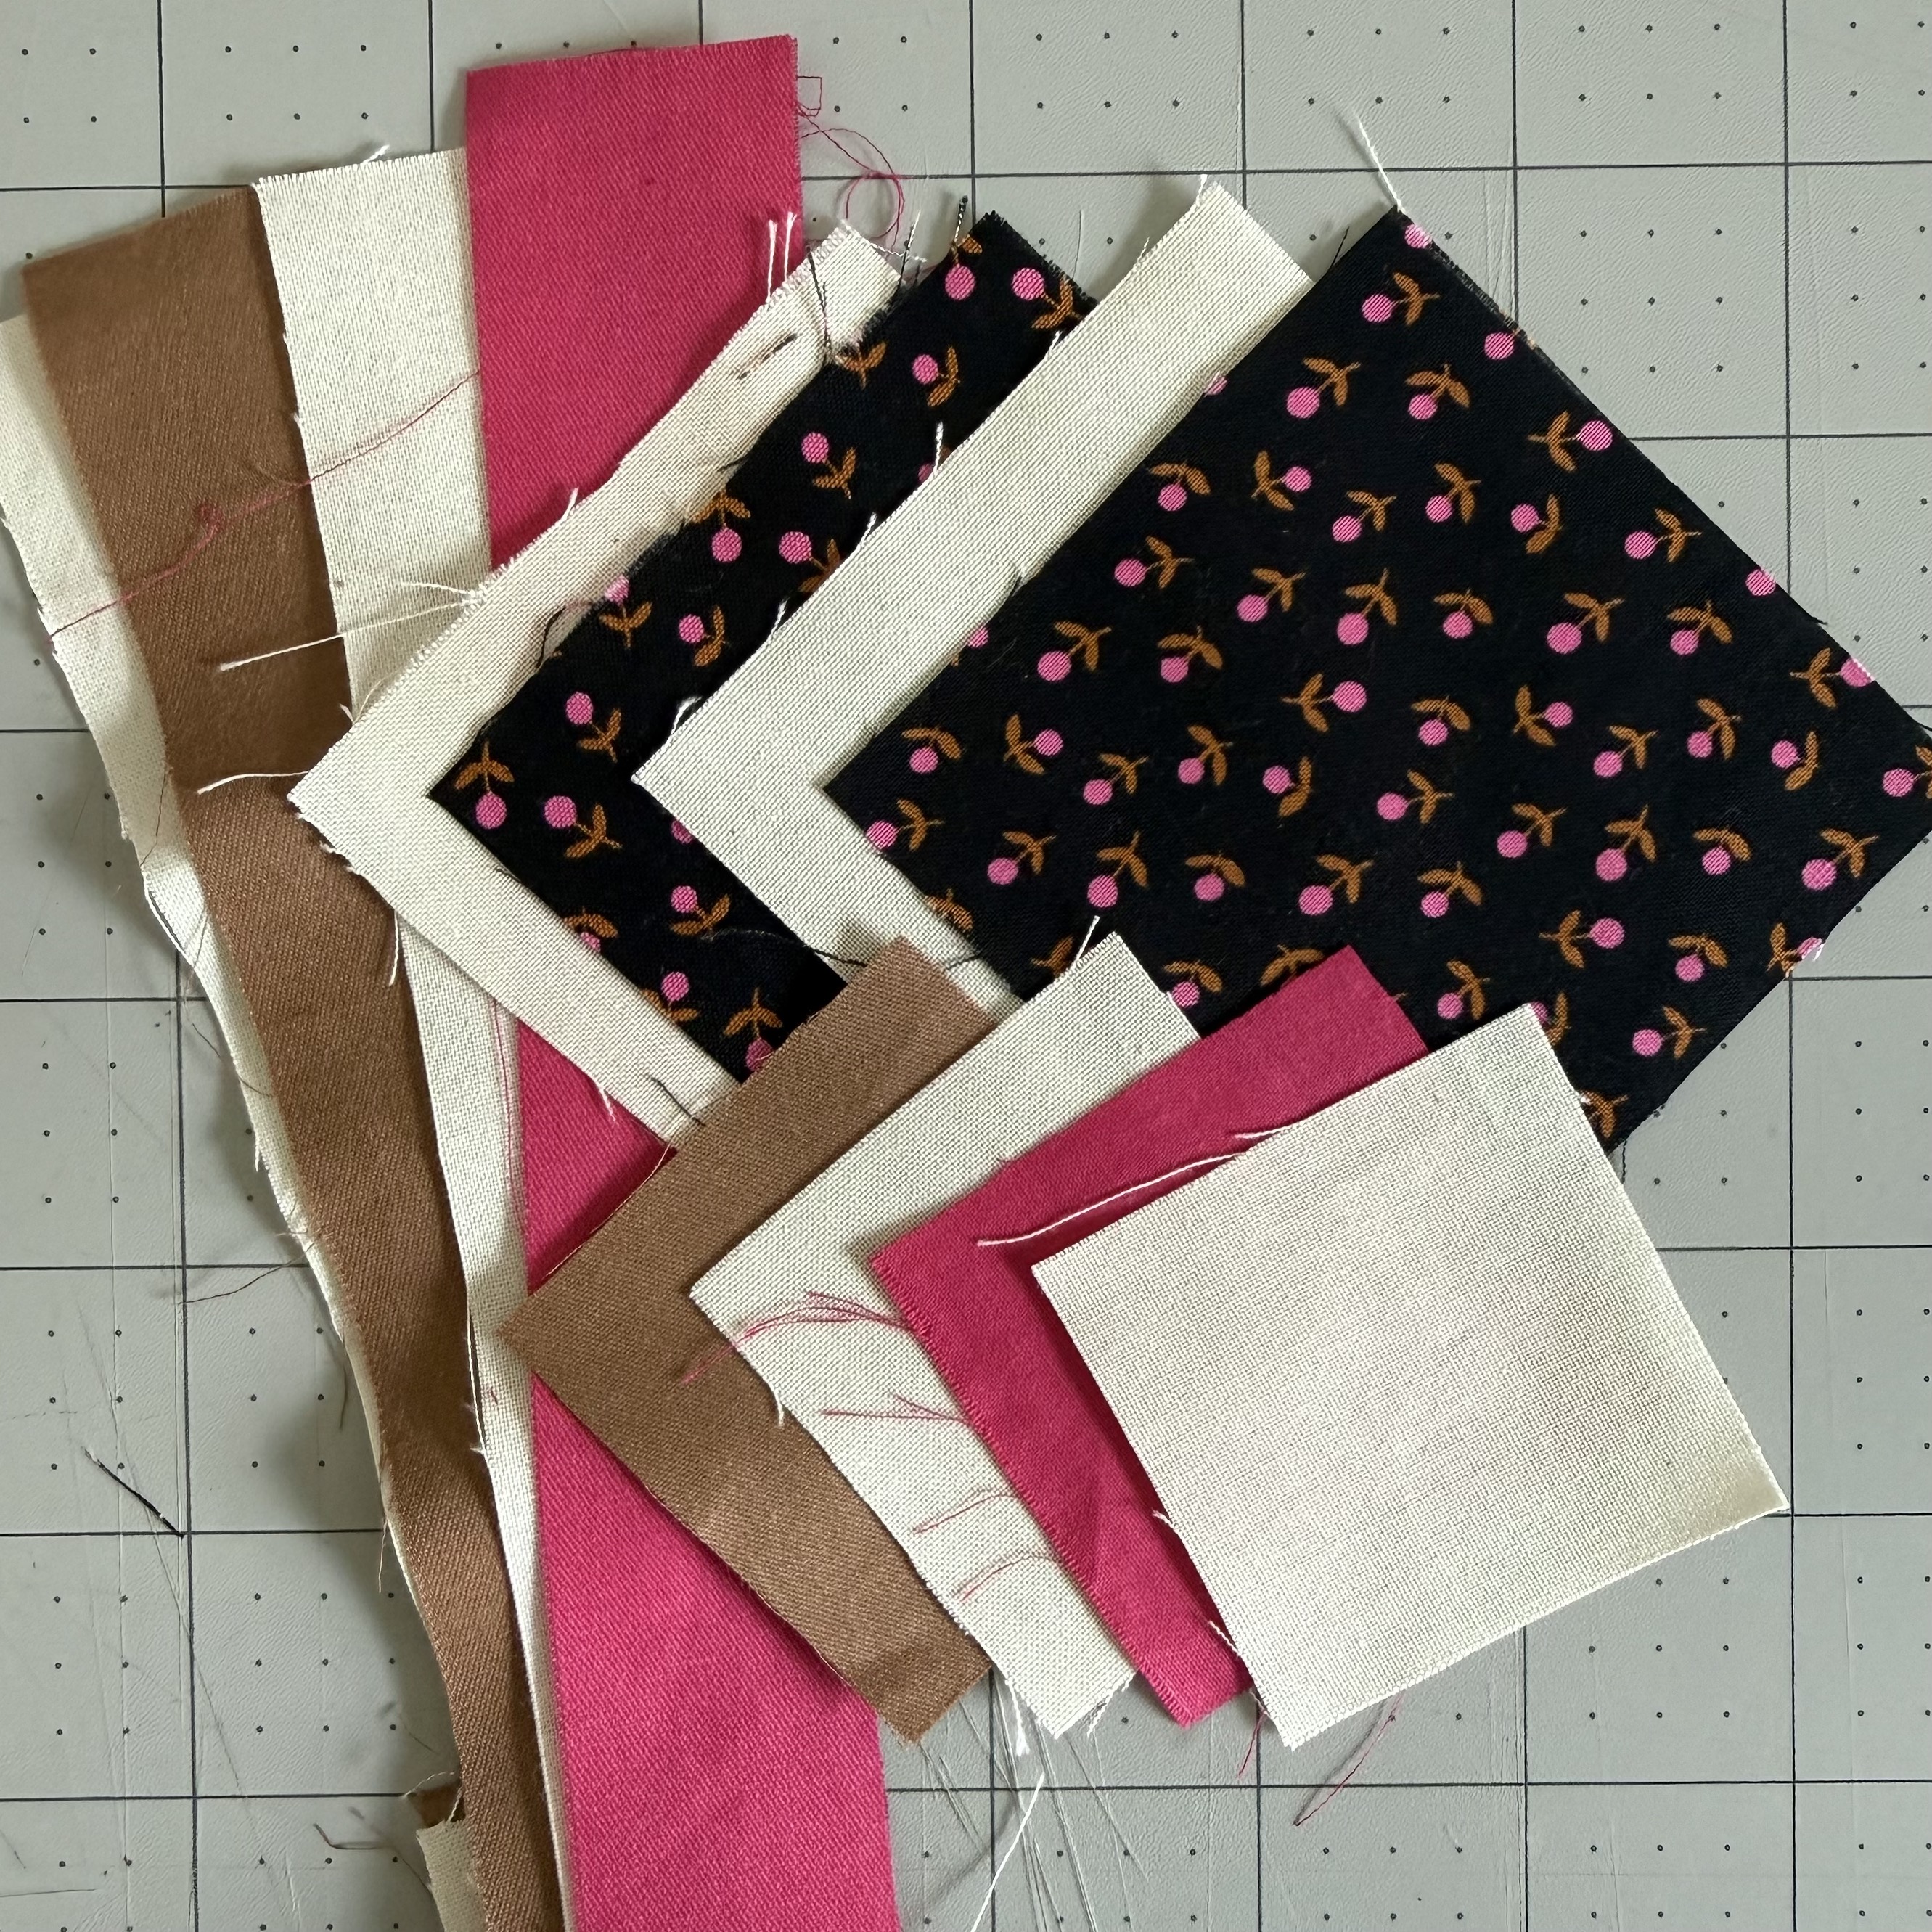
I cut the chipboard layers and cardstock accents for all four magnets, then cut the floral patterned fabric and coordinating cream, pink, and brown fabrics. Keeping the structure and fabric pieces grouped by magnet makes the embroidery and assembly steps easier to organize.
Next: embroider the floral designs.
Embroidery
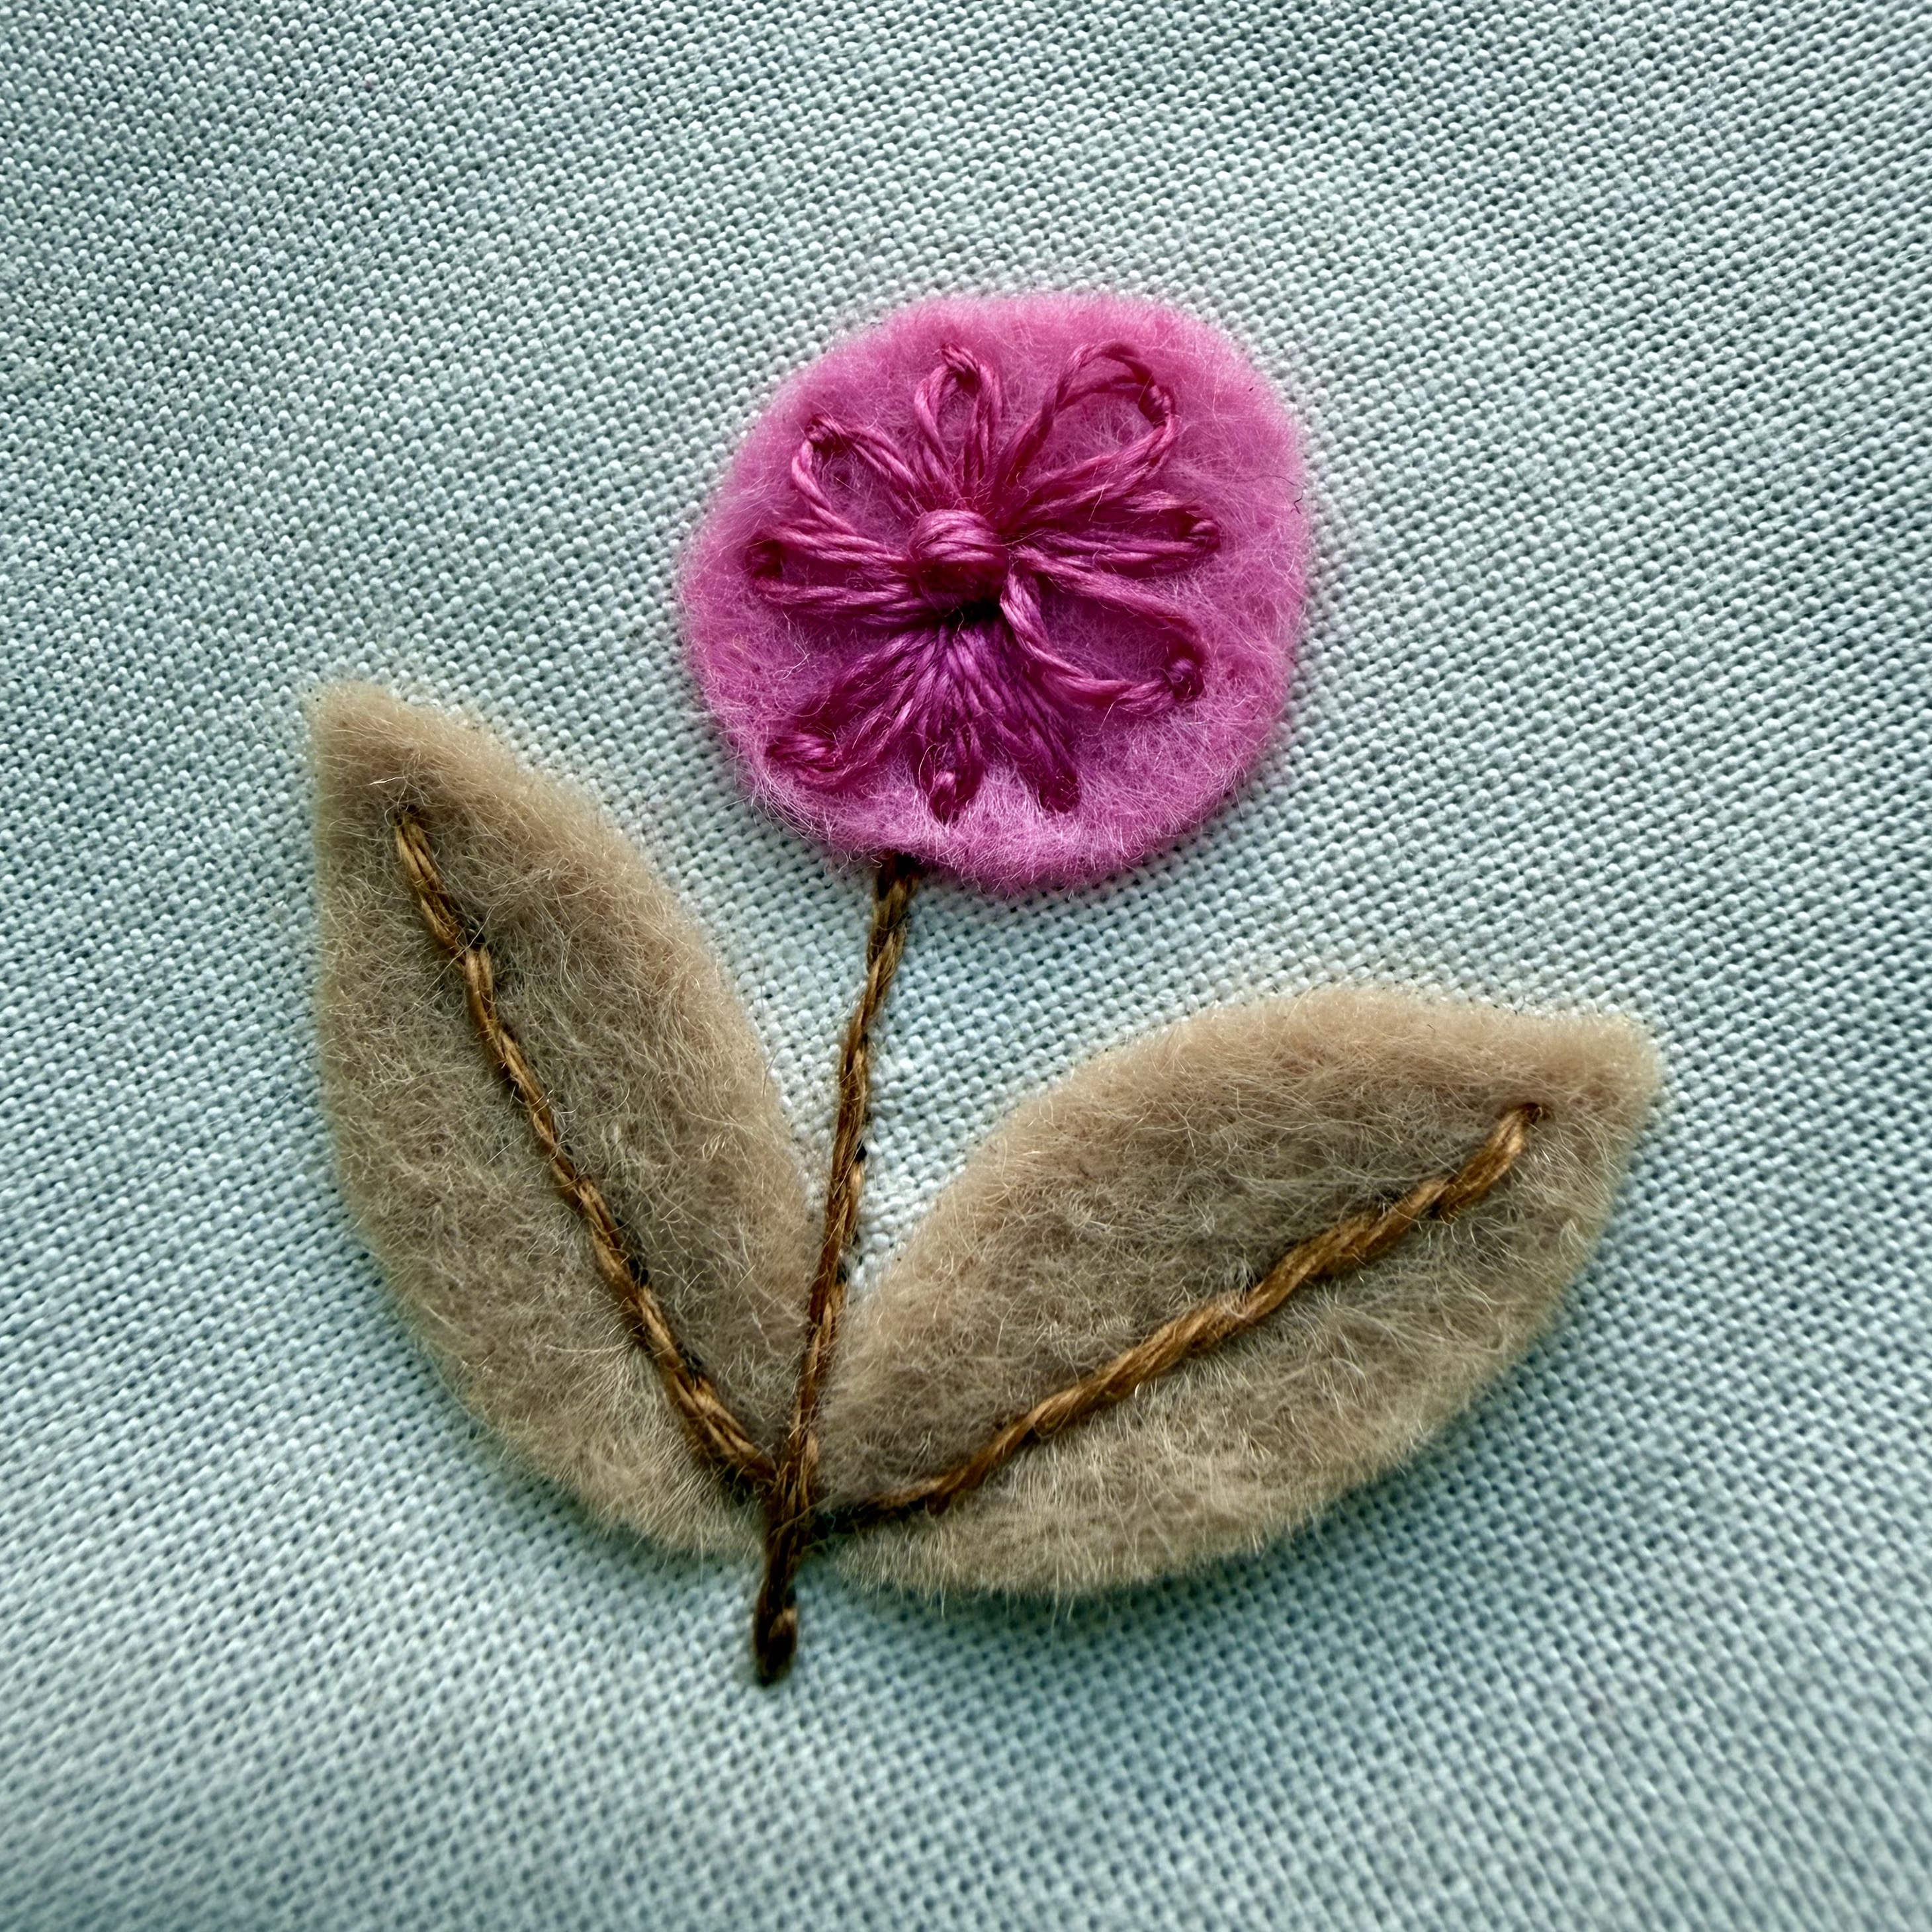
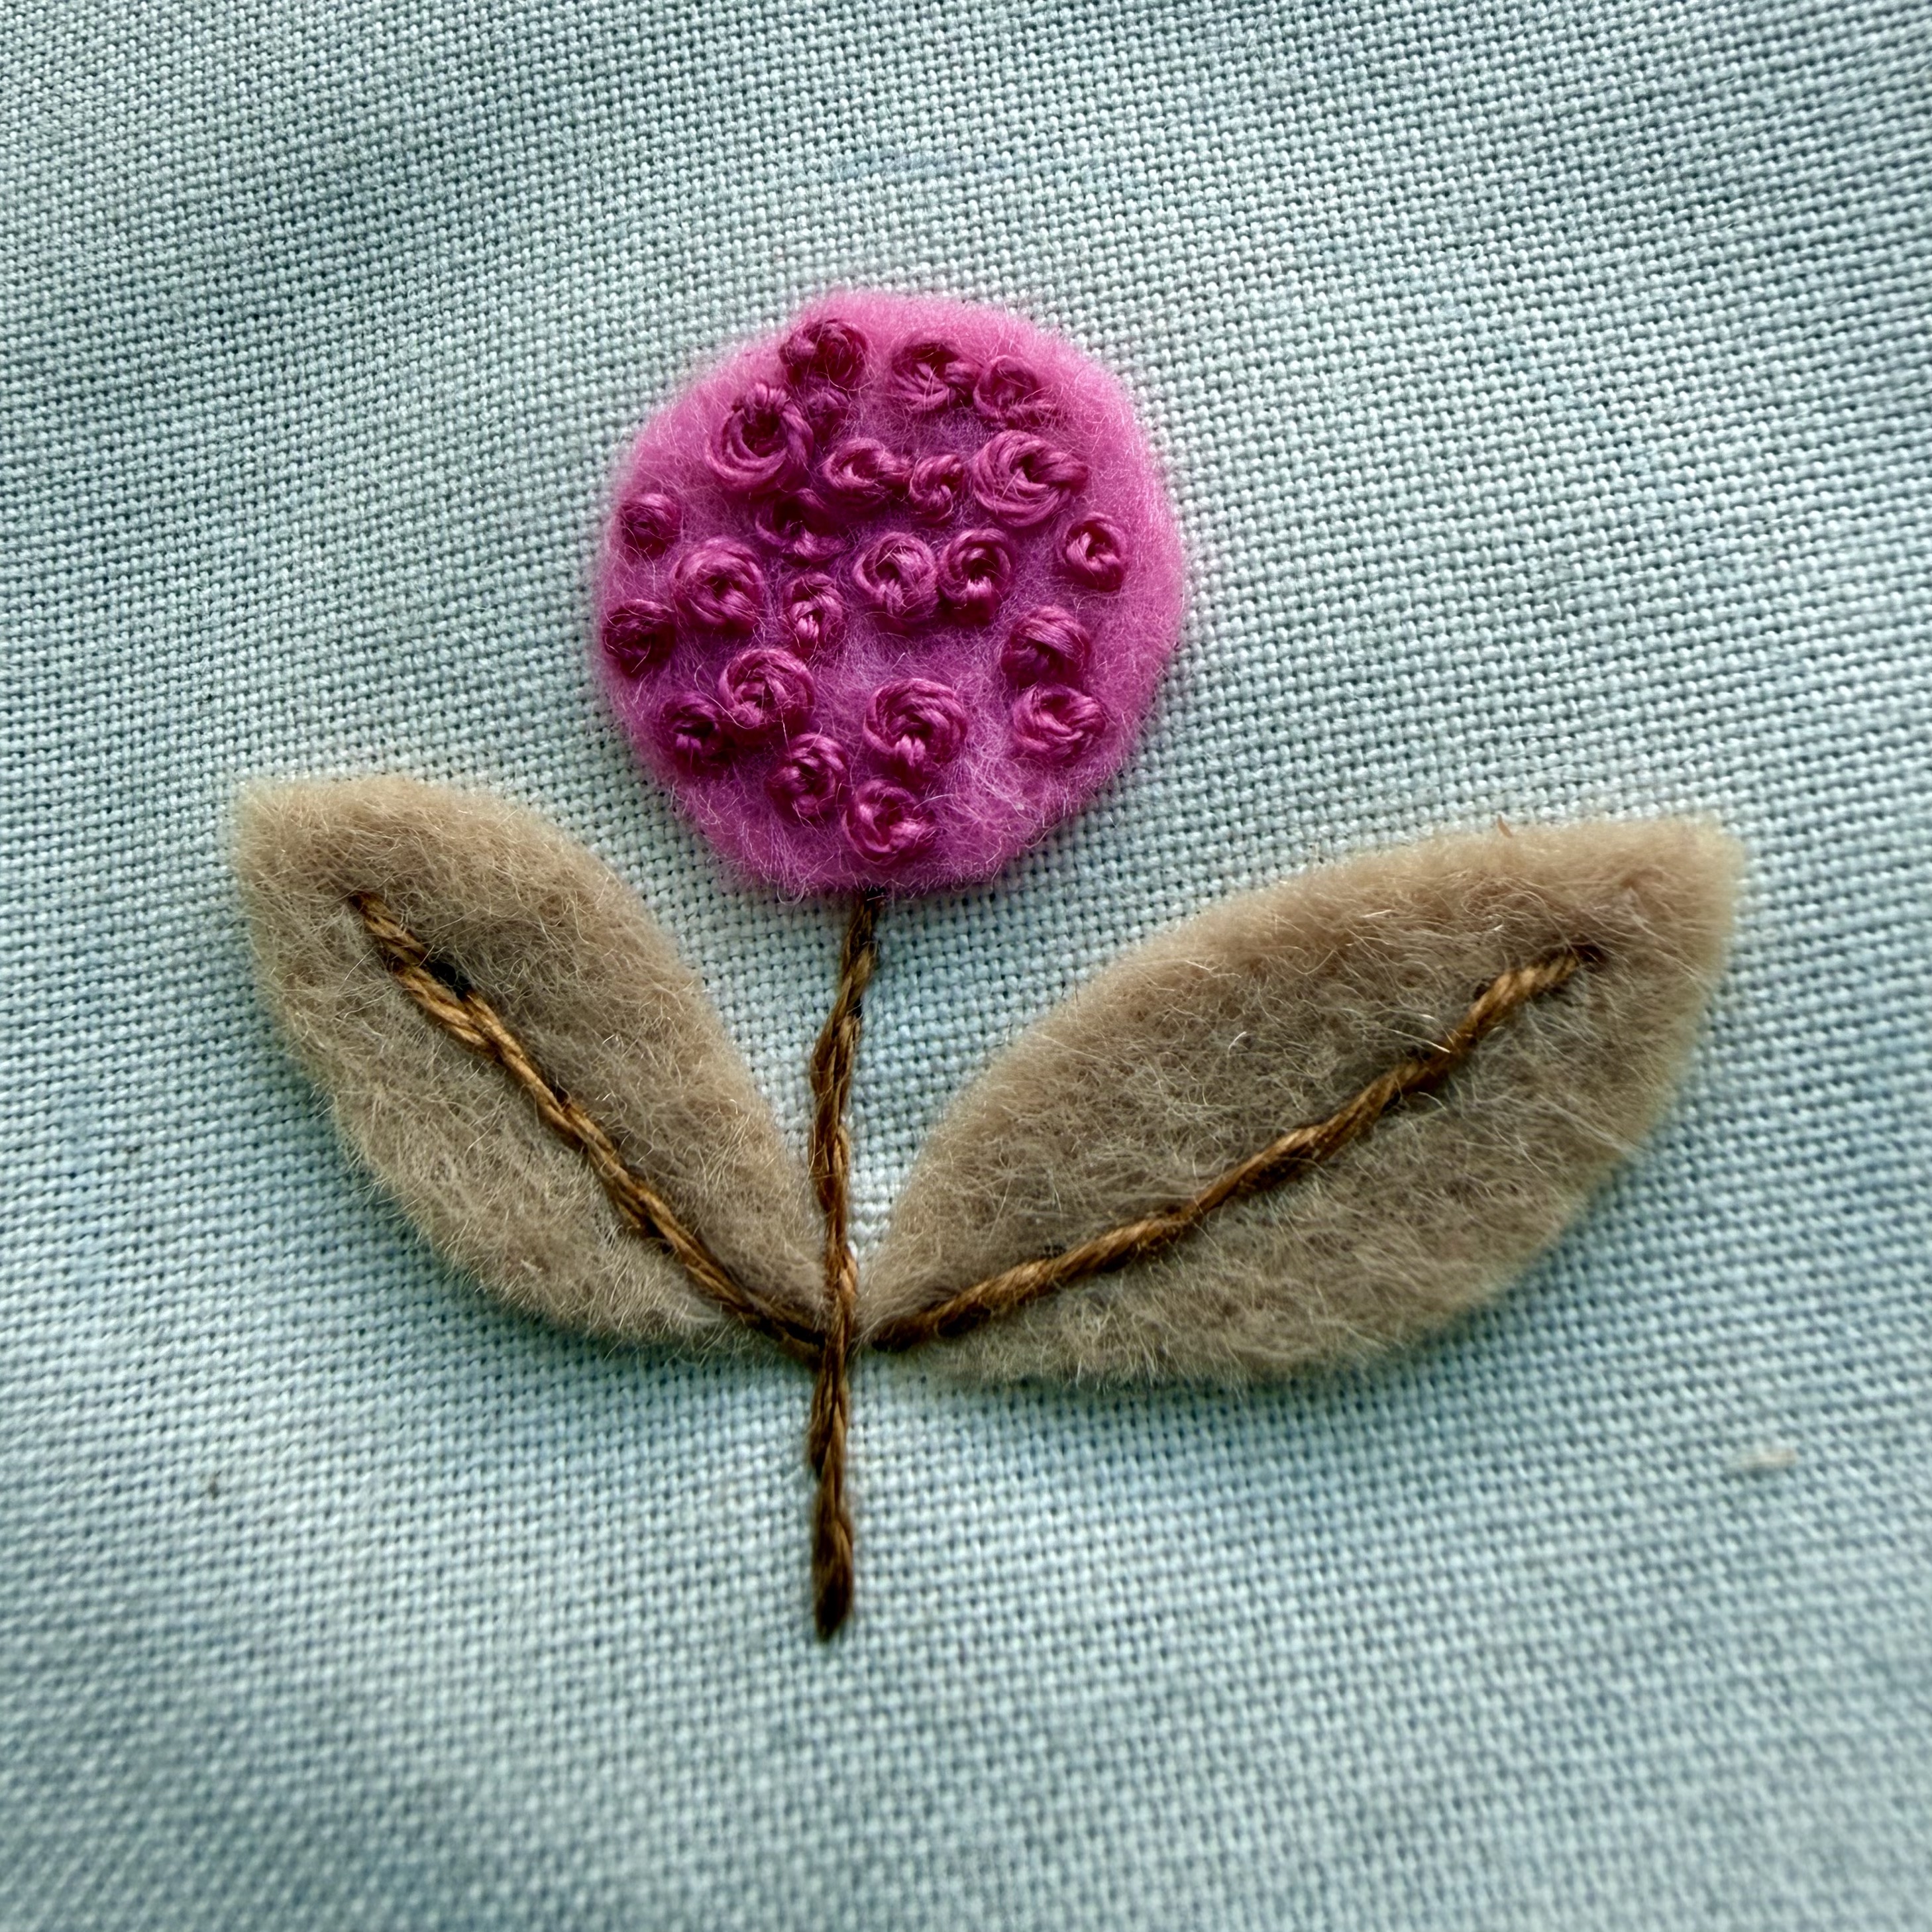
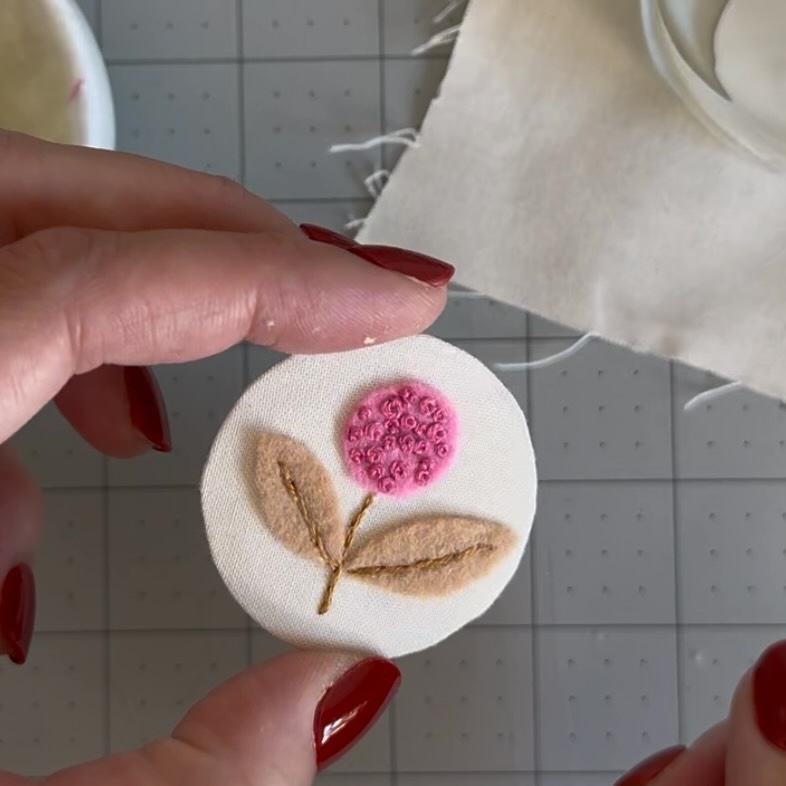
The tiny pink flowers in the patterned fabric inspired the embroidery for this set. I recreated the floral motif on cream fabric, layering pink and brown wool felt beneath the stitching to add dimension, softness, and color.
The two samples explore different stitched flower centers while keeping the same leaves, stem, and warm fall palette. This connects the embroidered magnets to the patterned fabric while giving each design its own texture and character.
Next: wrap the magnet pieces.
Wrapping the Fabric Magnets
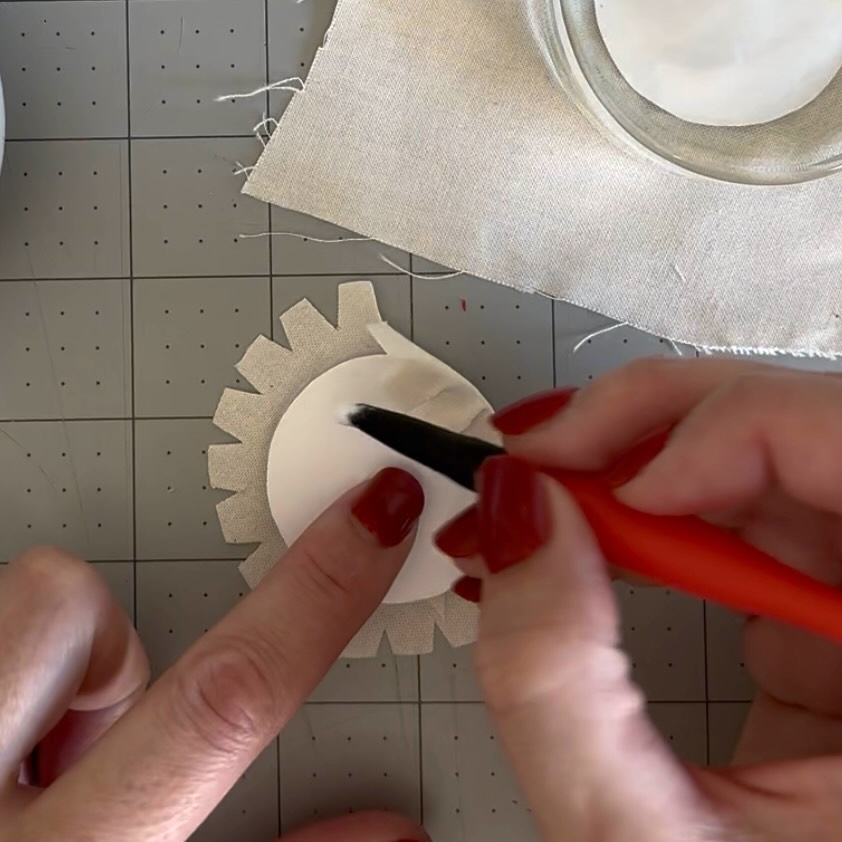
Wrapping fabric around the board pieces with glue uses French cartonnage, giving these small magnets a firm shape and neatly covered edges.
I glued two chipboard pieces together for each magnet base and painted the boards white to keep the fabric colors bright. Then I wrapped the front cards in fabric, including the two embroidered pieces.
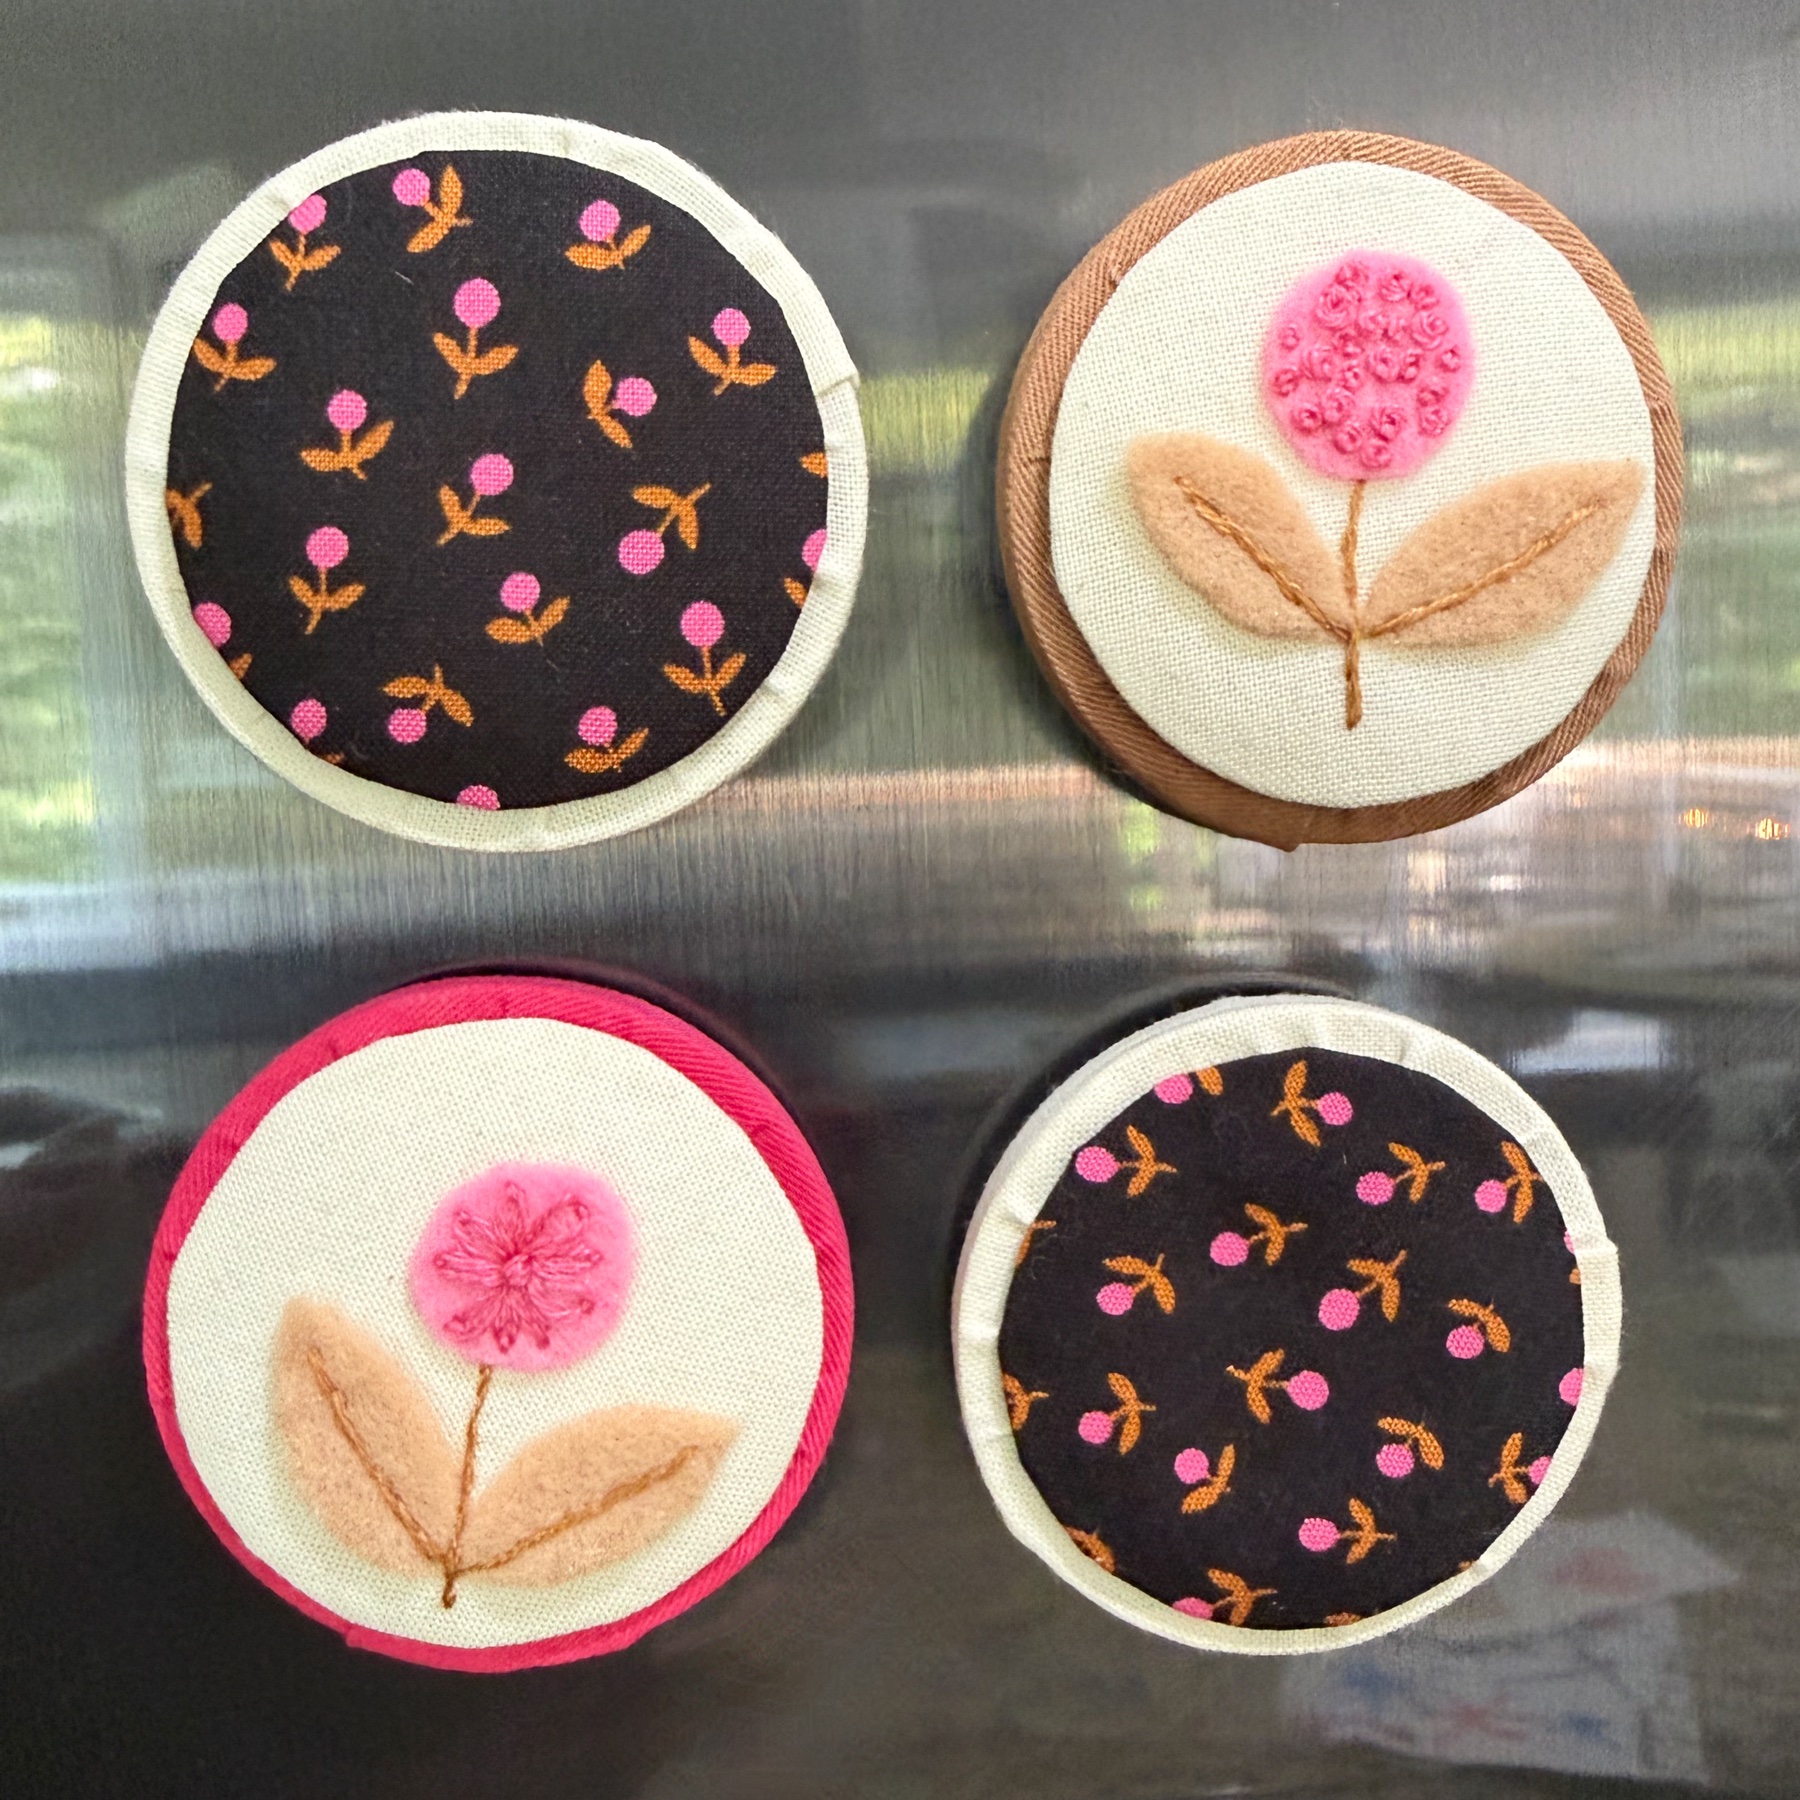
Finished Magnets for School Artwork
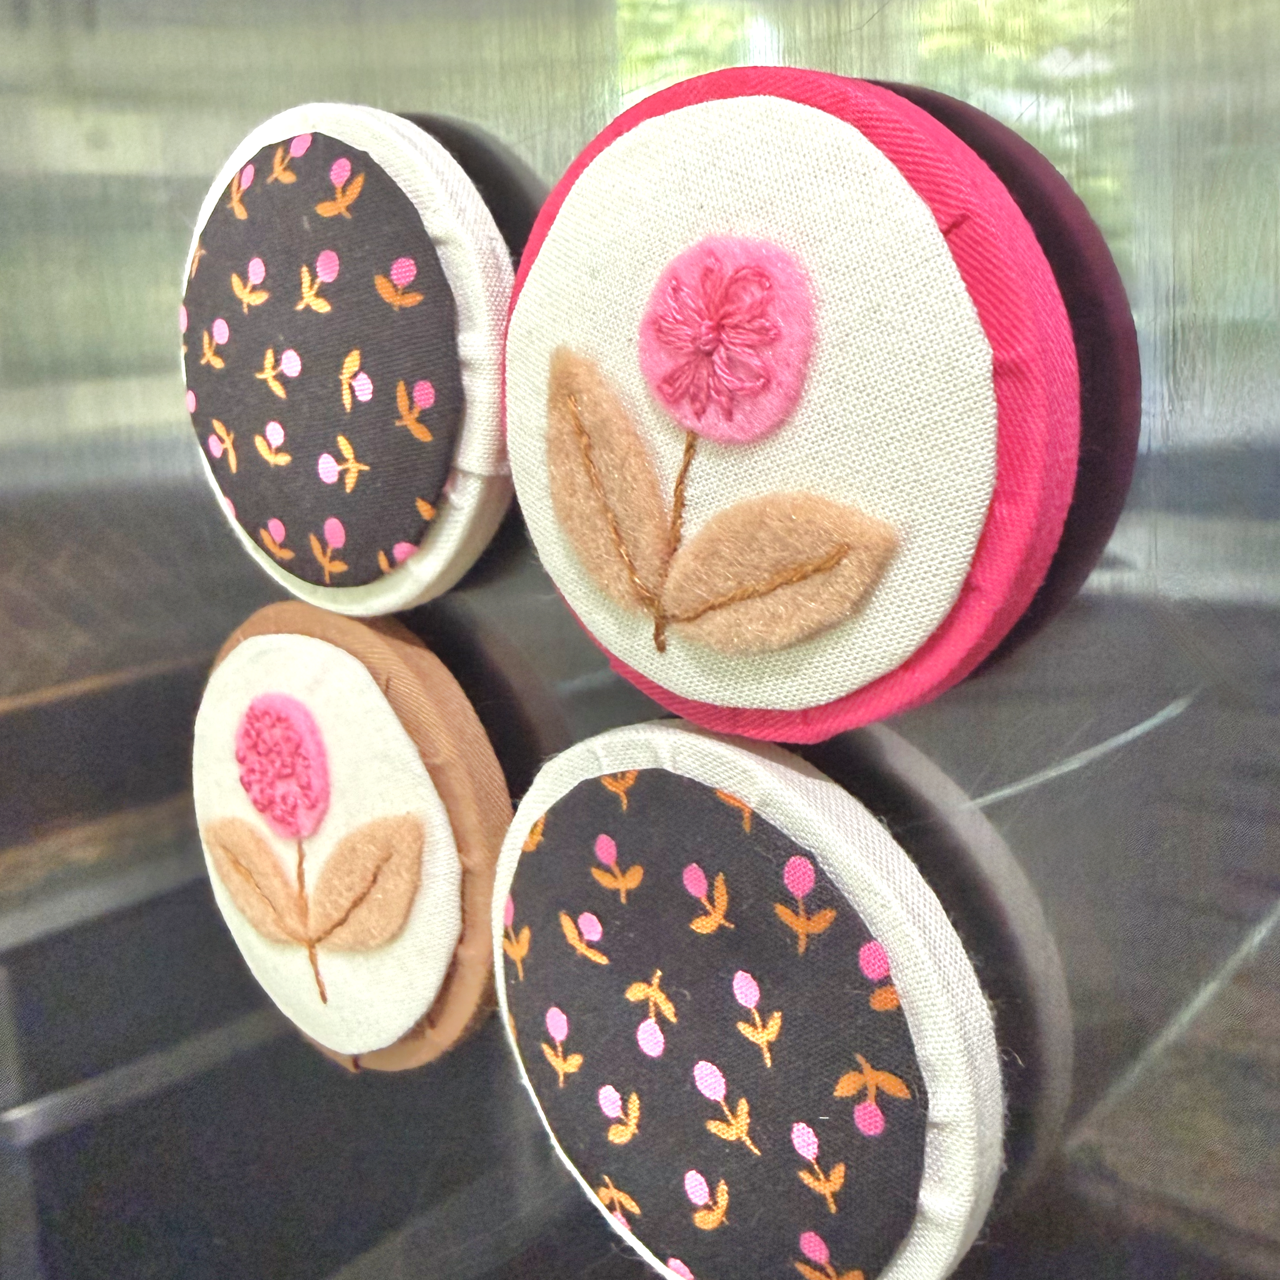
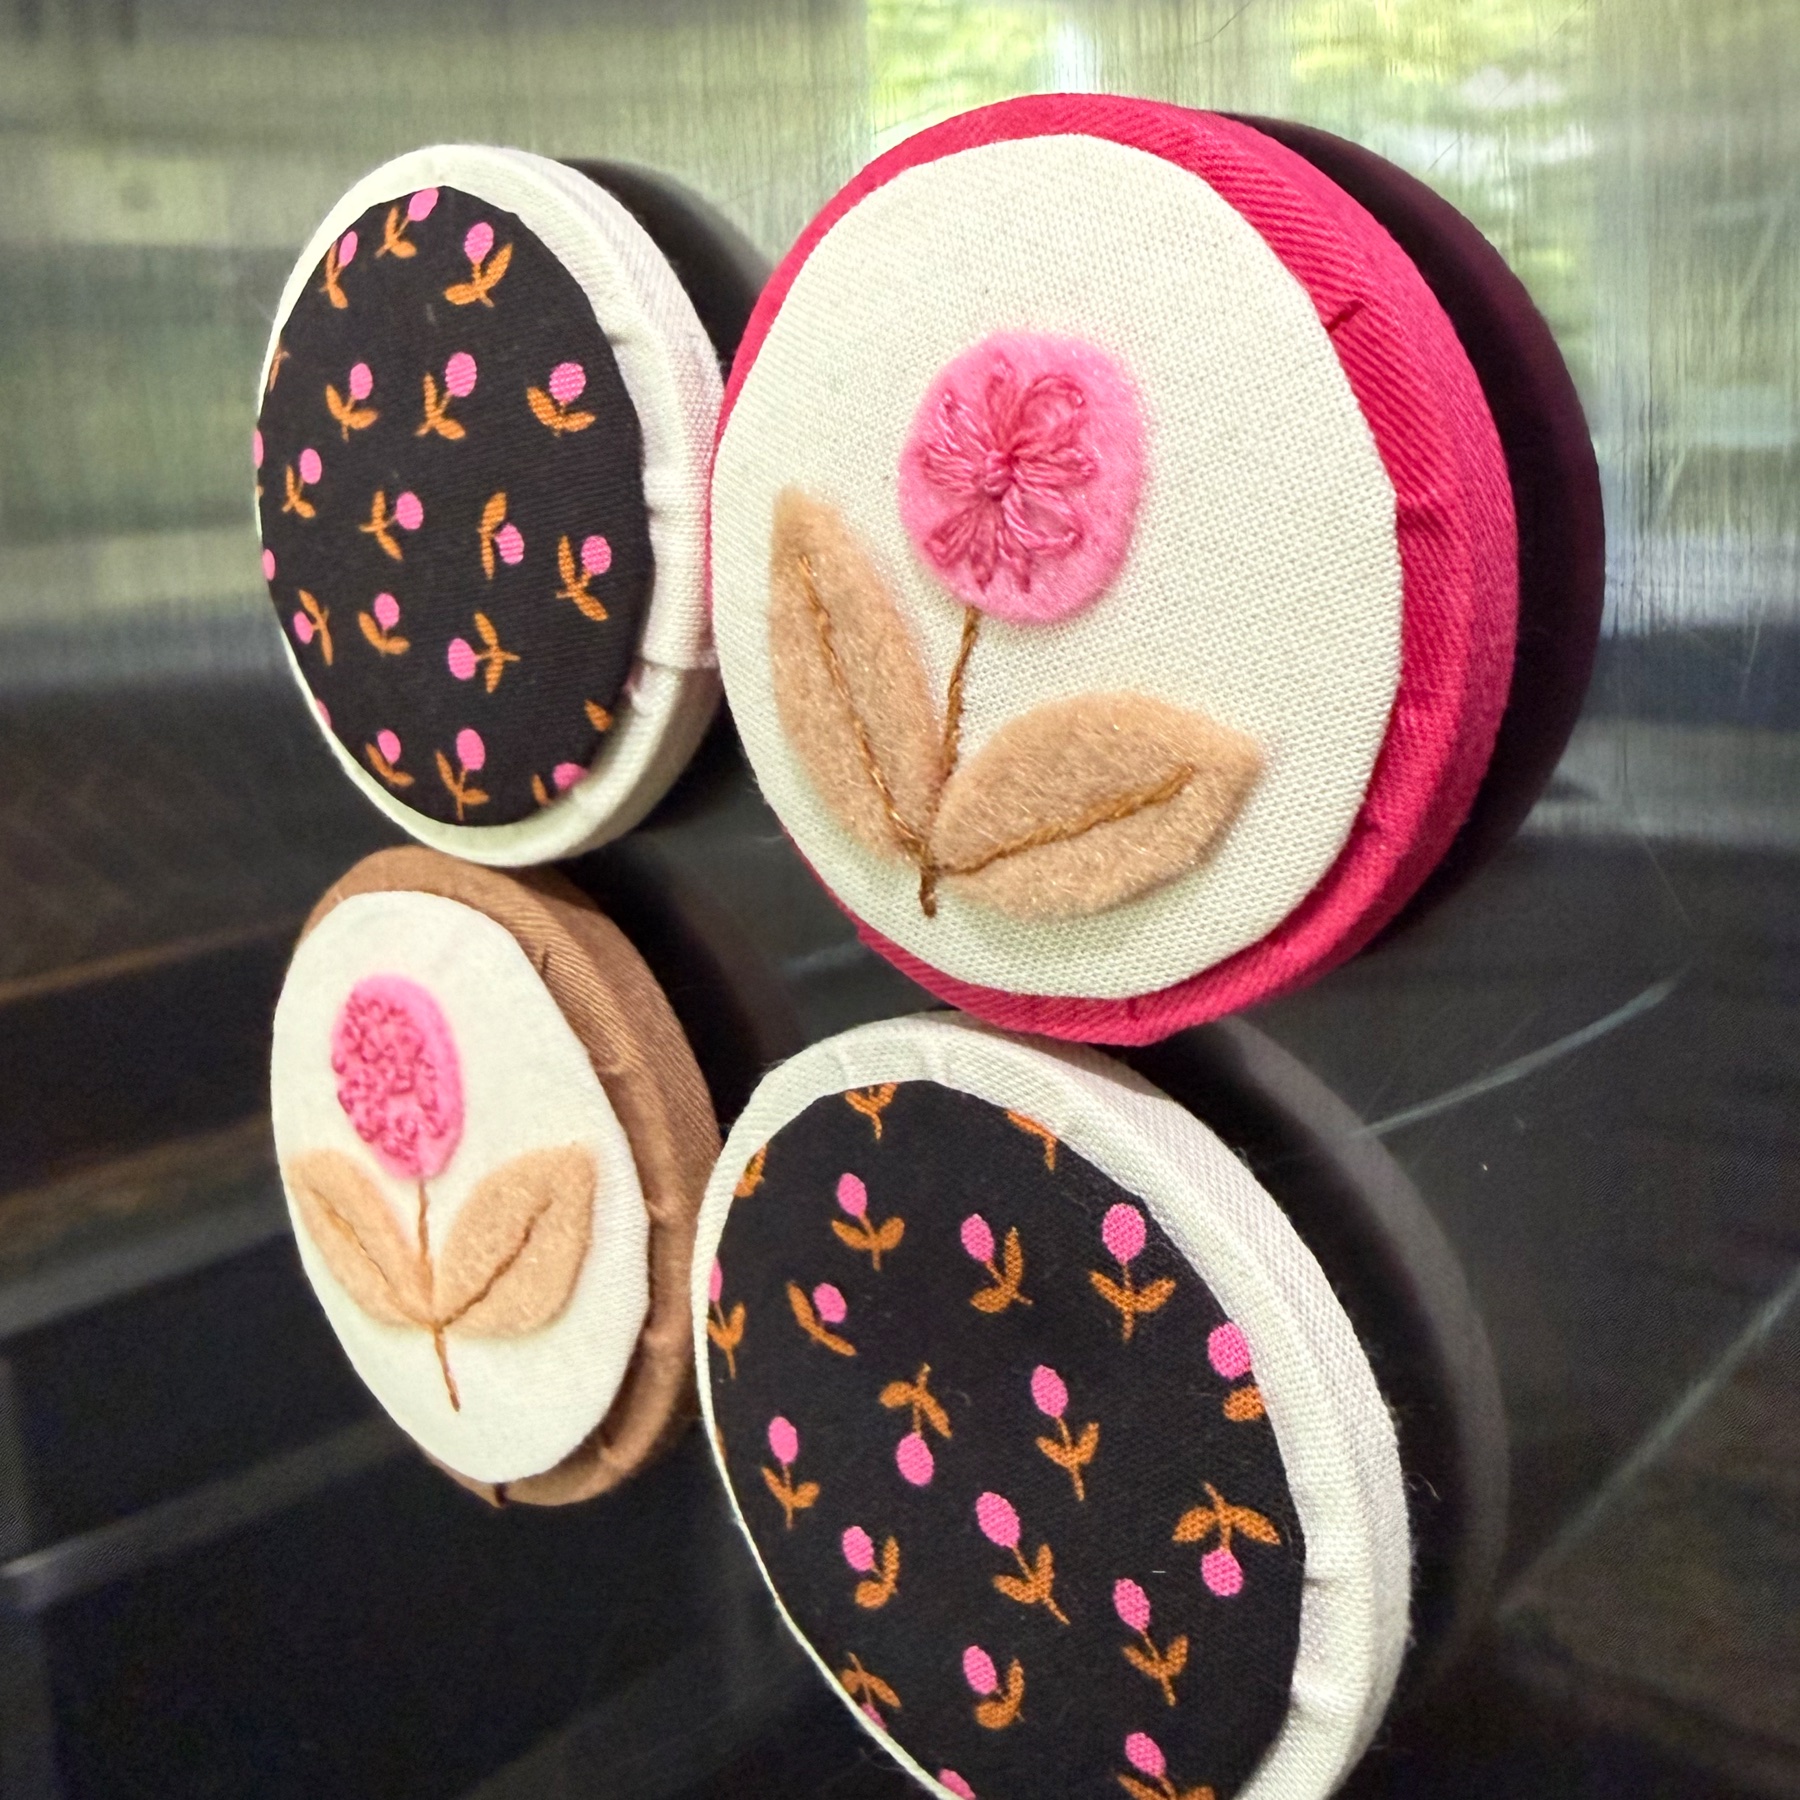
The finished School Days set includes four fabric-covered magnets, with two featuring embroidered details inspired by the floral print. I assembled the wrapped bases and fronts, then put the magnets on my fridge to hold school artwork, reminders, and other important papers.
See it come together
Watch the finished project take shape in two different ways.