
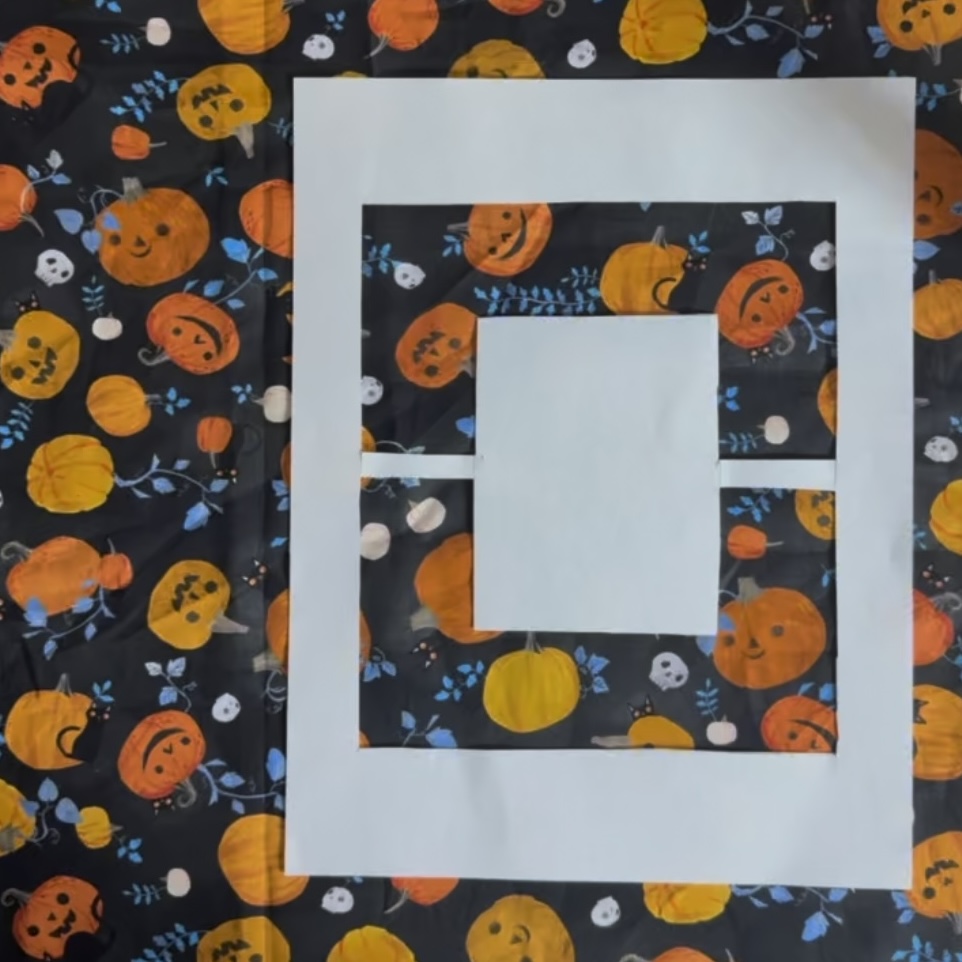
Planning the Pumpkin-Print Photo Frame
I chose a pumpkin-print fabric for the Halloween photo frame, planned the layout, and cut the chipboard, cardstock, and fabric pieces.
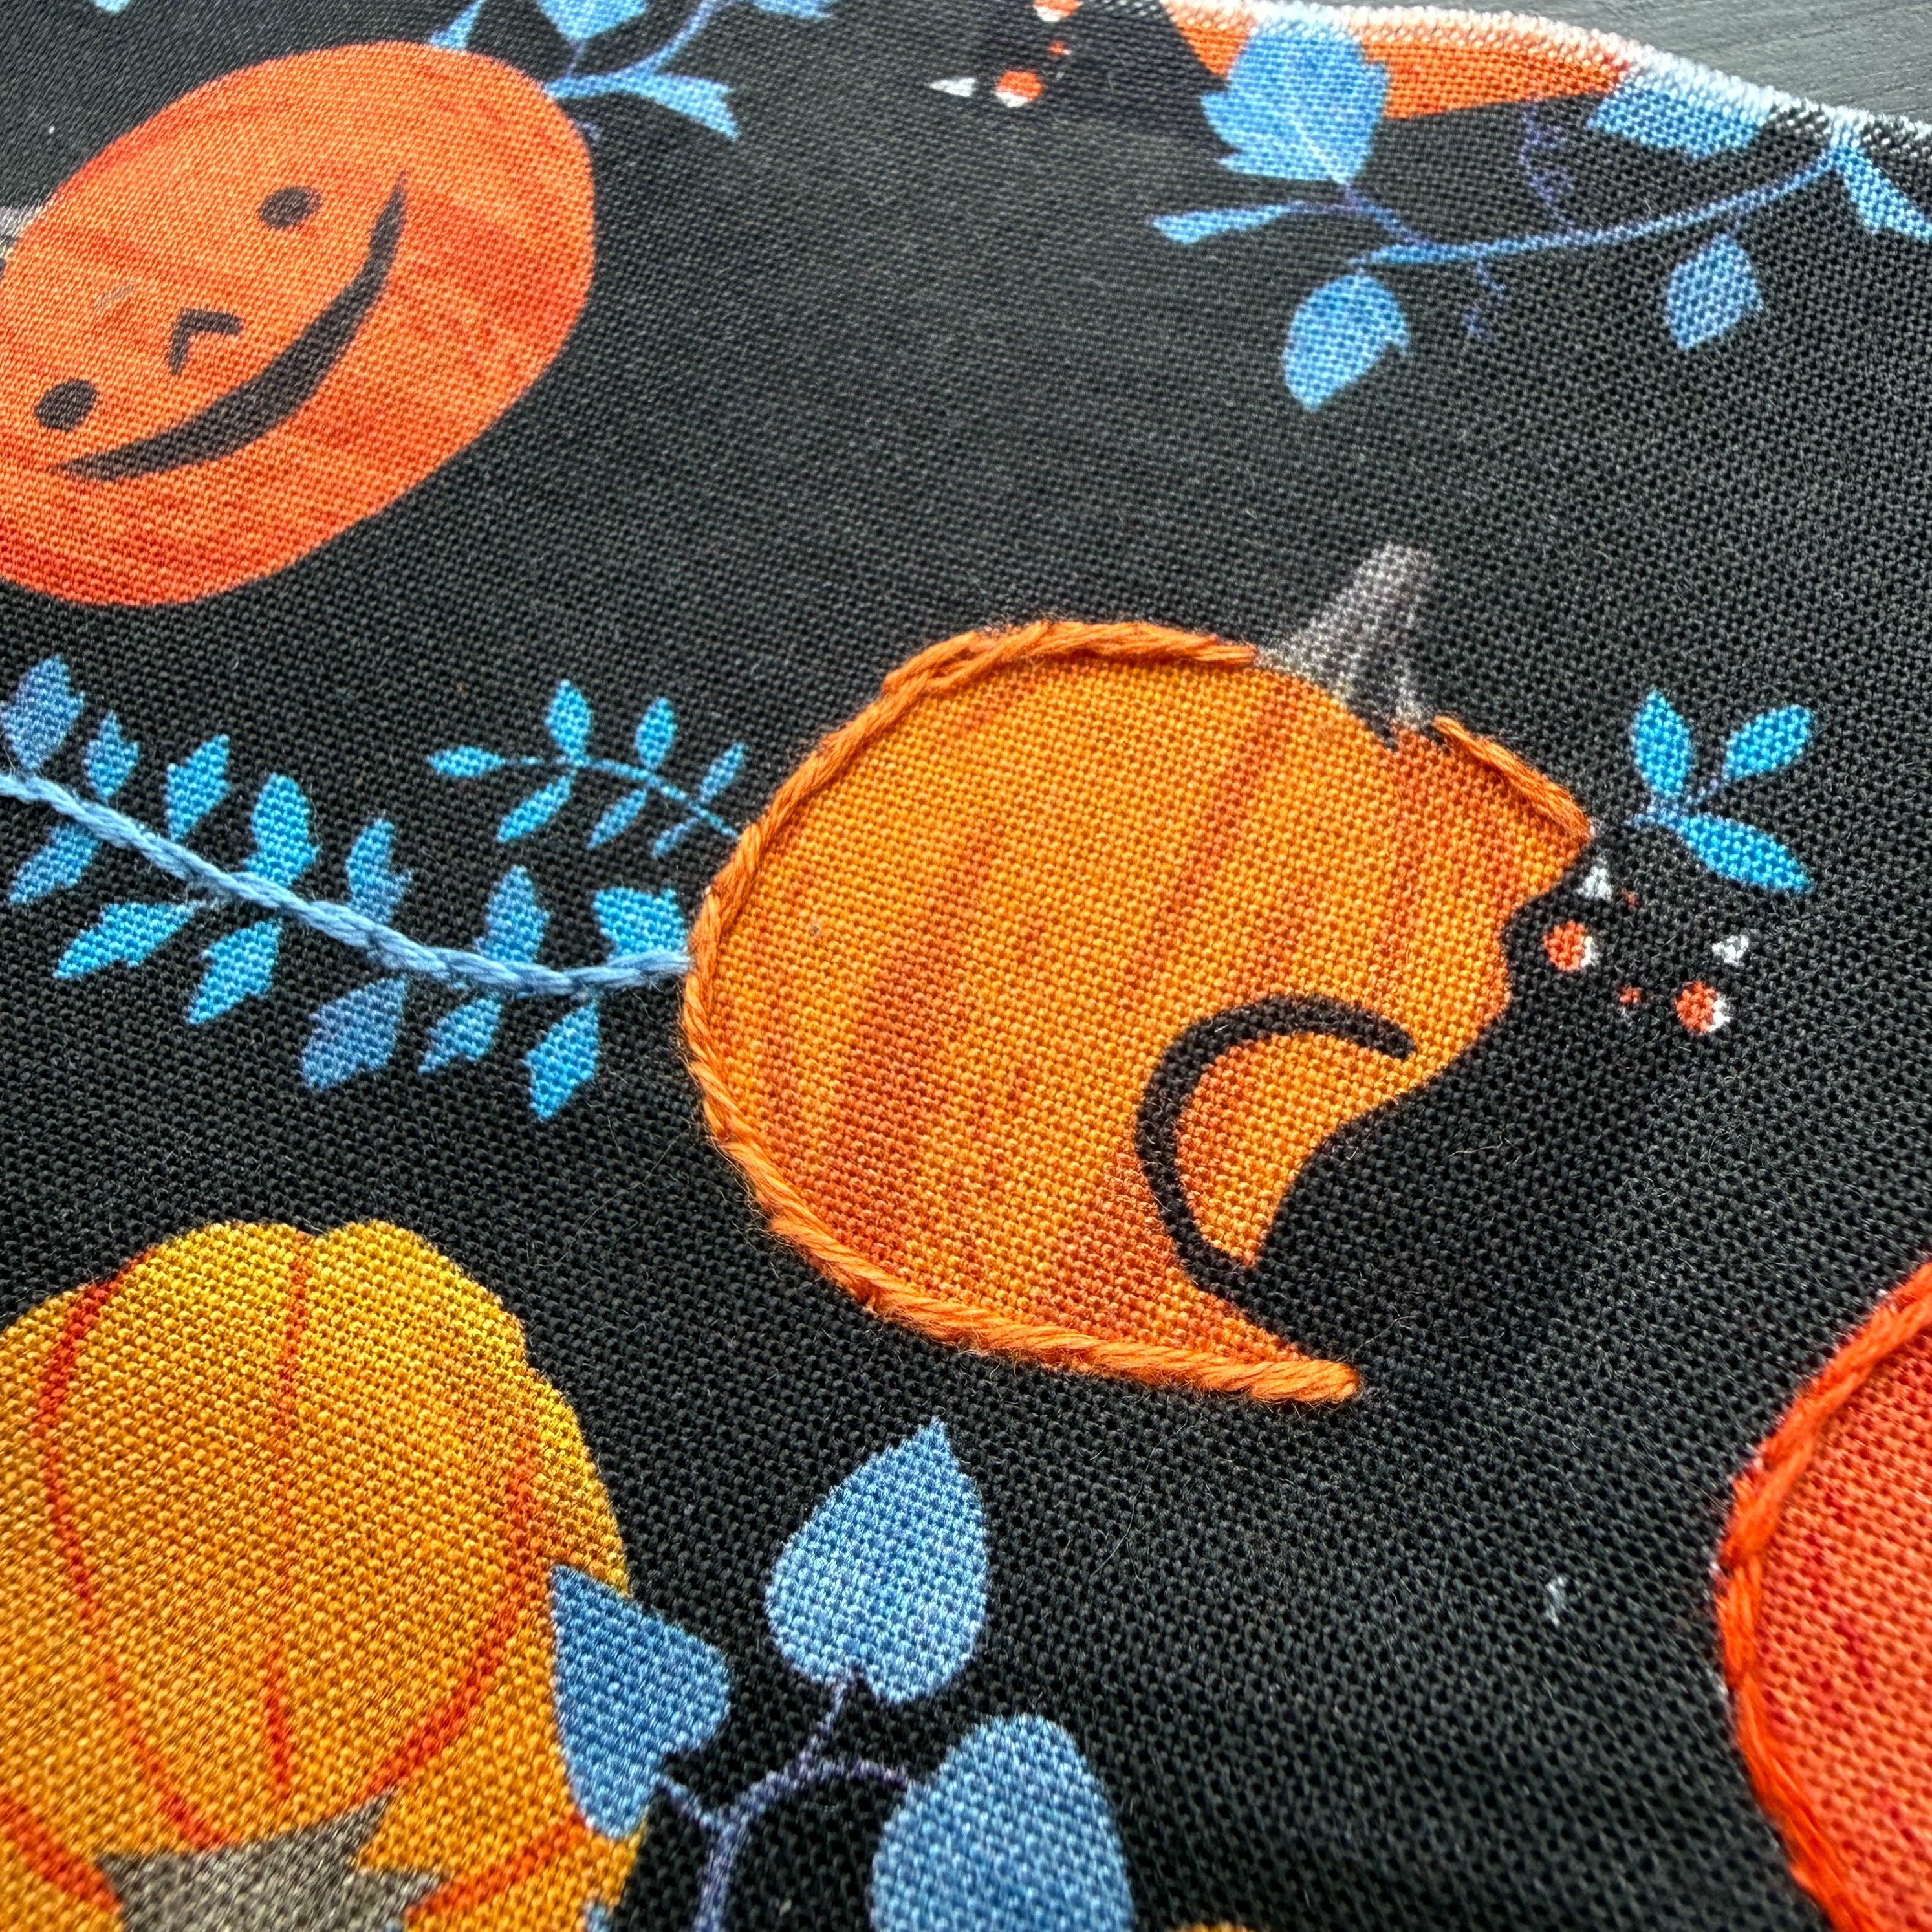
Embroidering the Pumpkin Details
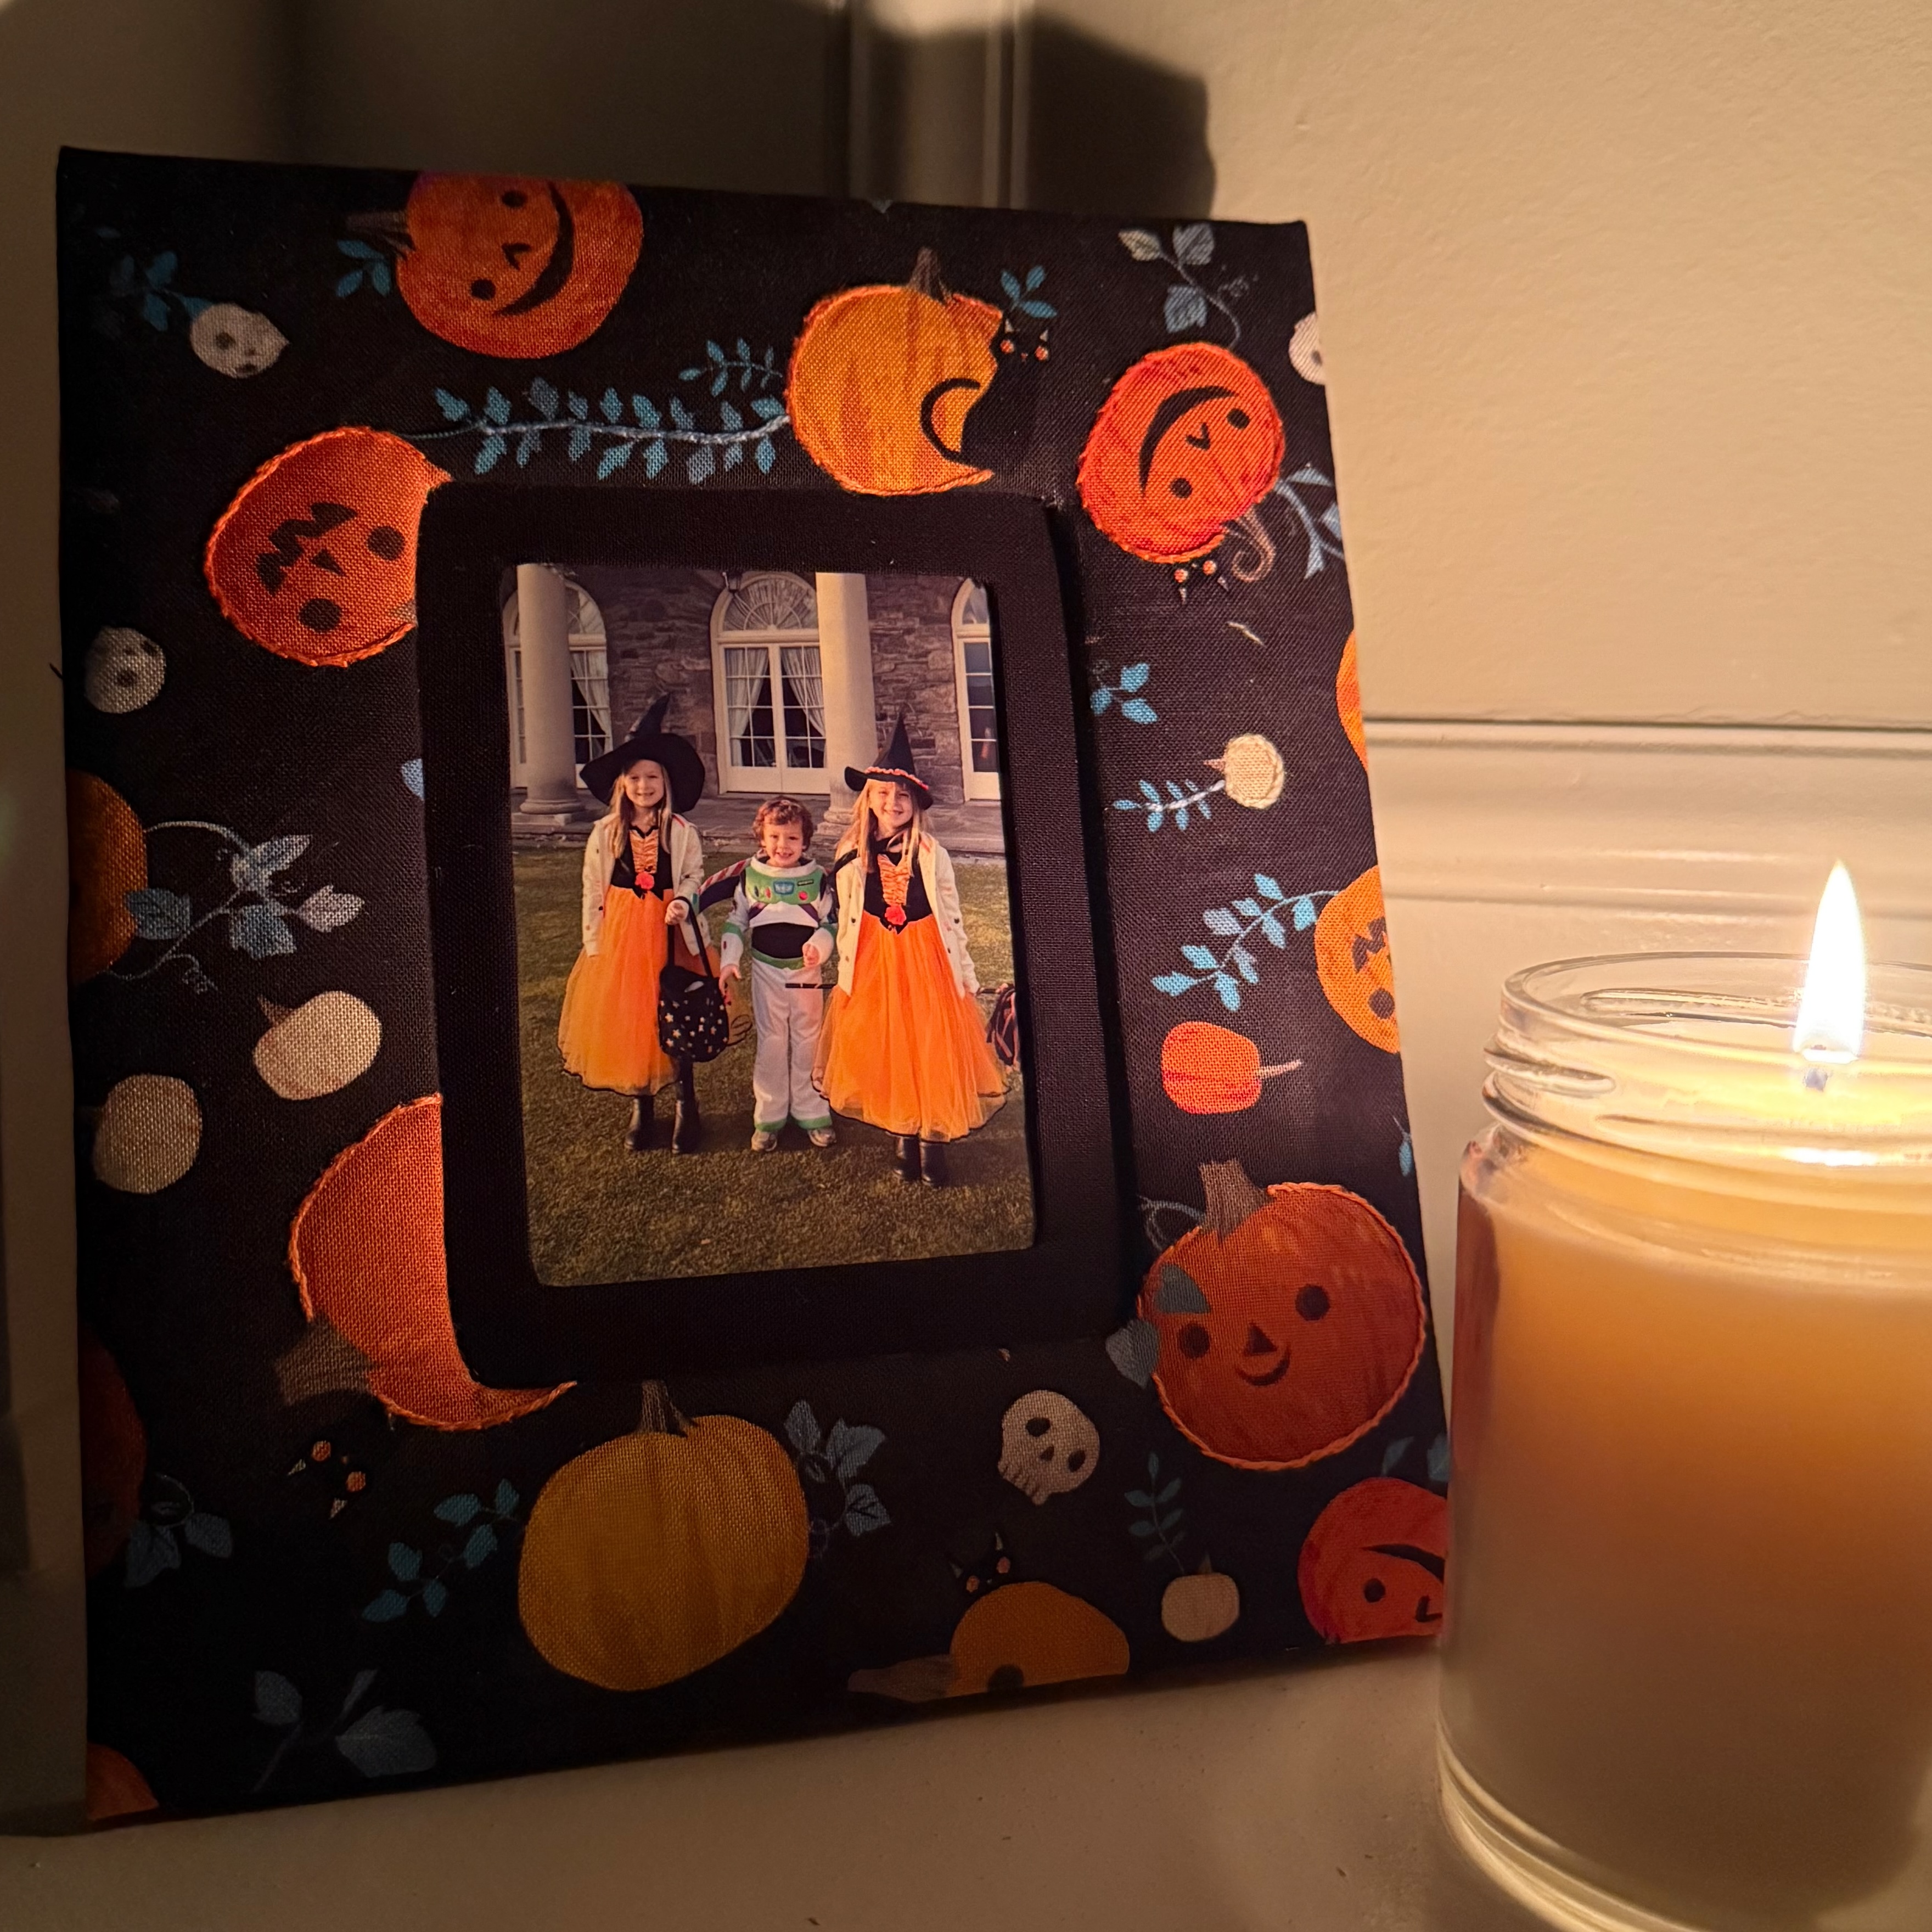
I outlined the pumpkin shapes chosen for the front of the frame with embroidery, adding texture and a little extra detail to the fabric. The stitching helps those pumpkins stand out while still letting the original print stay the focus.
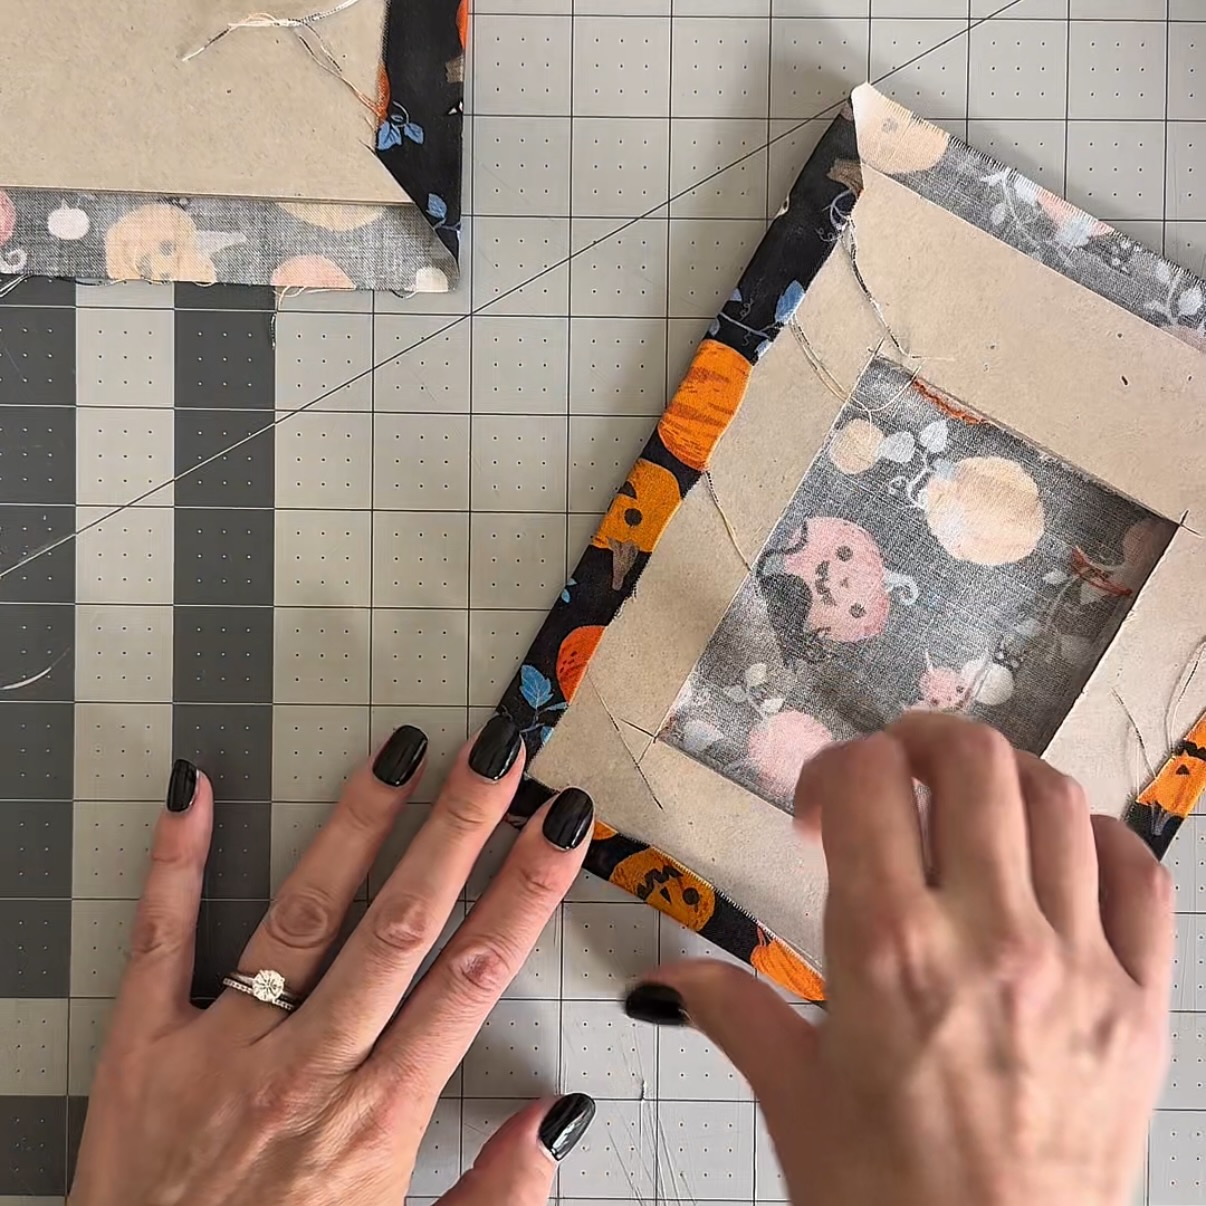
Wrapping
The board and card pieces were glued to fabric, trimmed, and wrapped by turning in the edges for a clean finish. Wrapping each piece separately keeps the fabric smooth and gives the frame crisp edges before everything is assembled.
At this stage, the individual structural and lining pieces start to look much more finished, with the pumpkin print and coordinating fabrics becoming the focus instead of the raw board and card underneath.
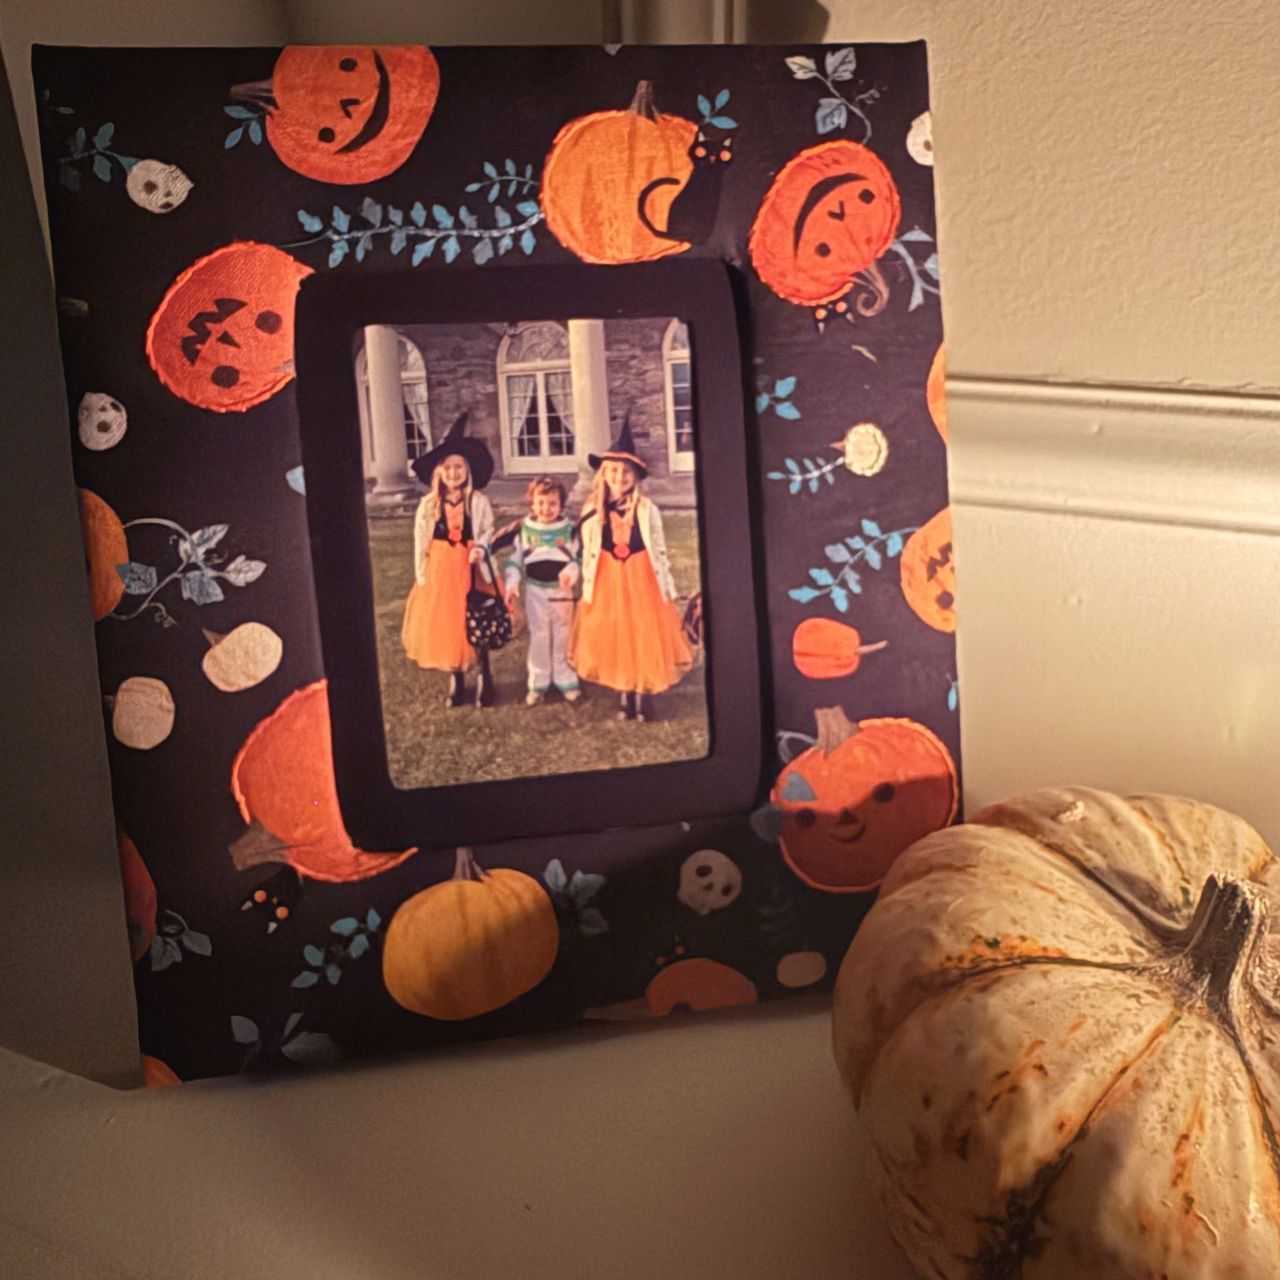
Finish
I assembled the wrapped pieces to finish the Trick-or-Treat Memories Frame. The pumpkin print, embroidered details, and coordinating fabrics come together in a keepsake ready to display a favorite Halloween photo.
See it come together
Watch the finished project take shape in two different ways.